
42 Christmas Nail designs That Are Festive and Easy to Do at Home
Christmas is the perfect excuse to give your nails a little extra sparkle, whether you love classic holiday colors or prefer something more subtle. From candy cane patterns and glittery French tips to elegant gold details and playful Christmas characters, there are plenty of ways to make your manicure feel seasonal. These Christmas nail designs range from simple looks you can recreate at home to more detailed ideas worth saving for your next salon visit.
1. Metallic Tips
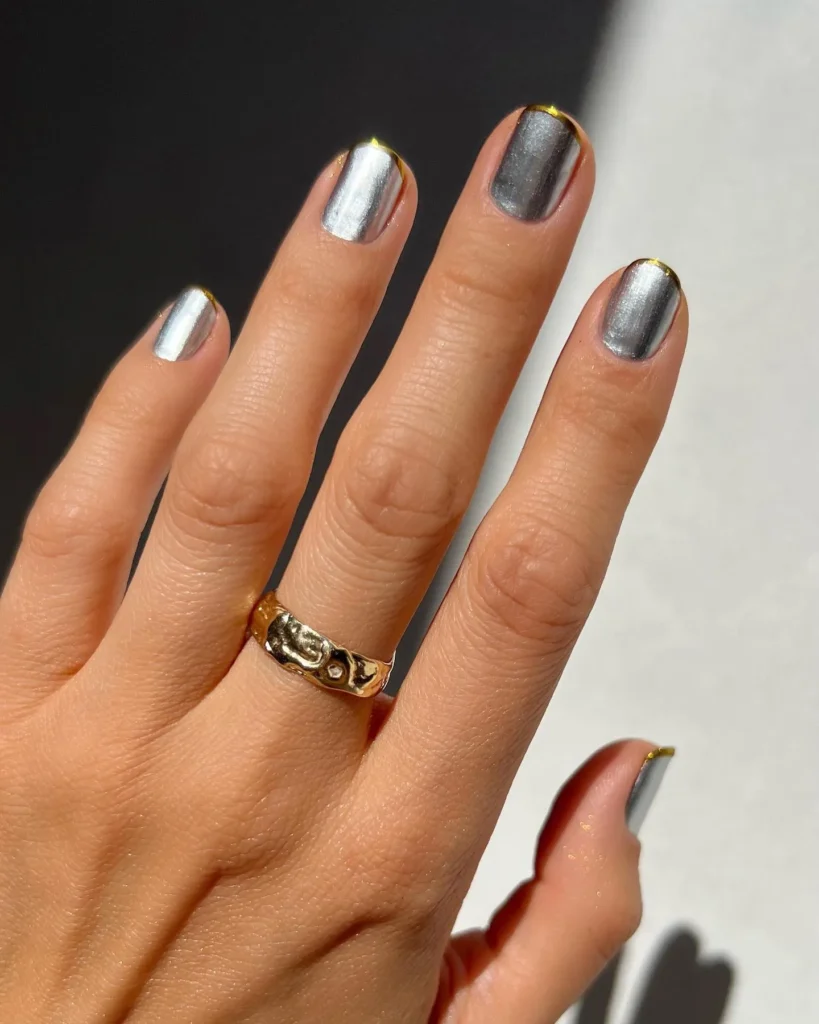
Give your traditional French manicure a festive update with metallic tips in gold, silver, or rose gold. The reflective finish adds just enough shine without covering the entire nail, making this design a lovely choice for holiday parties and everyday wear. Pair the metallic edges with a sheer nude or milky pink base for a clean, polished appearance that works beautifully on both short and long nails.
2. Asymmetrical French
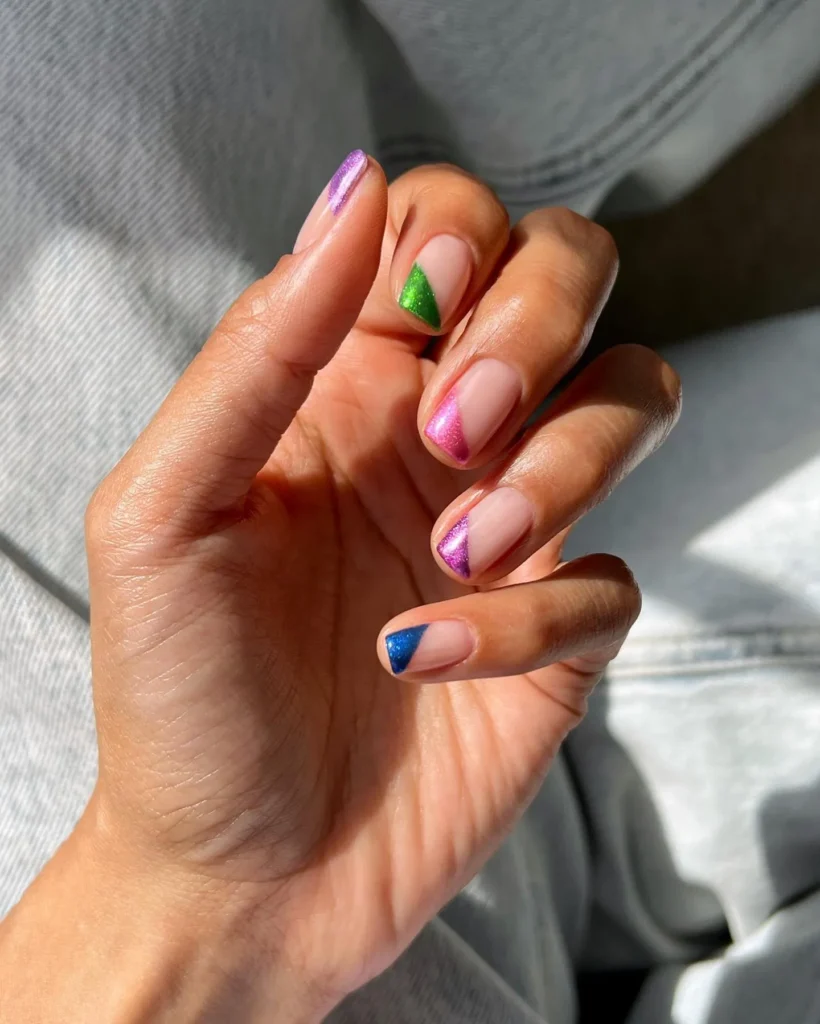
A classic French manicure feels more contemporary when the tips are painted at an angle rather than following the usual curved line. Try combining deep red, forest green, or shimmering gold for a Christmas-inspired finish. The uneven placement creates an interesting shape while keeping the overall design minimal. A fine nail art brush makes it easier to achieve neat diagonal edges at home.
3. Sparkly French Tip
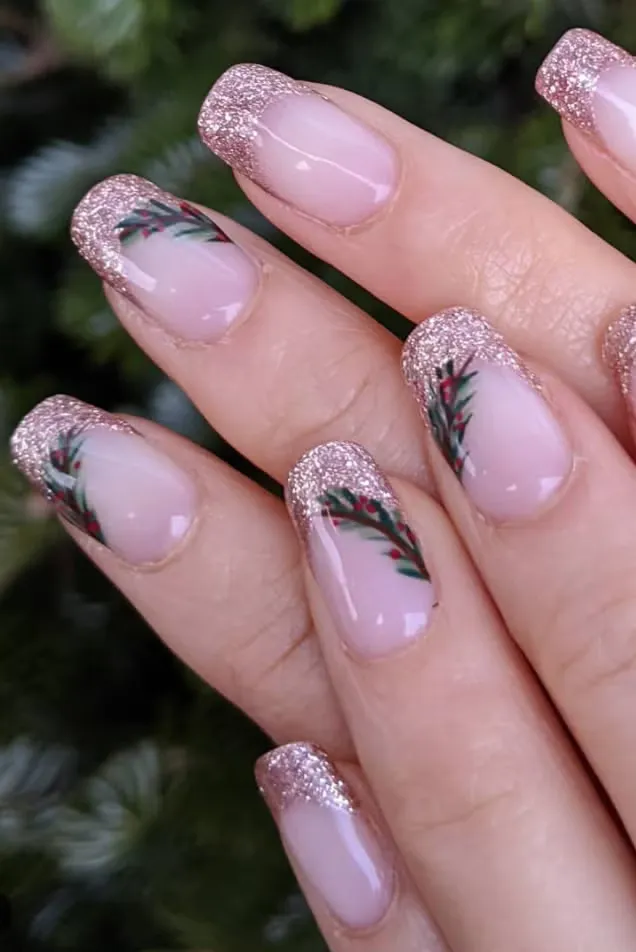
If you enjoy a little glitter but prefer understated nail art, sparkly French tips offer a lovely middle ground. Apply a sheer pink or nude base, then use silver, champagne, or holographic glitter along the free edges. You can keep the glitter concentrated at the tips or blend it slightly toward the center for a softer finish. This design looks especially elegant with almond-shaped nails.
4. Candy Cane
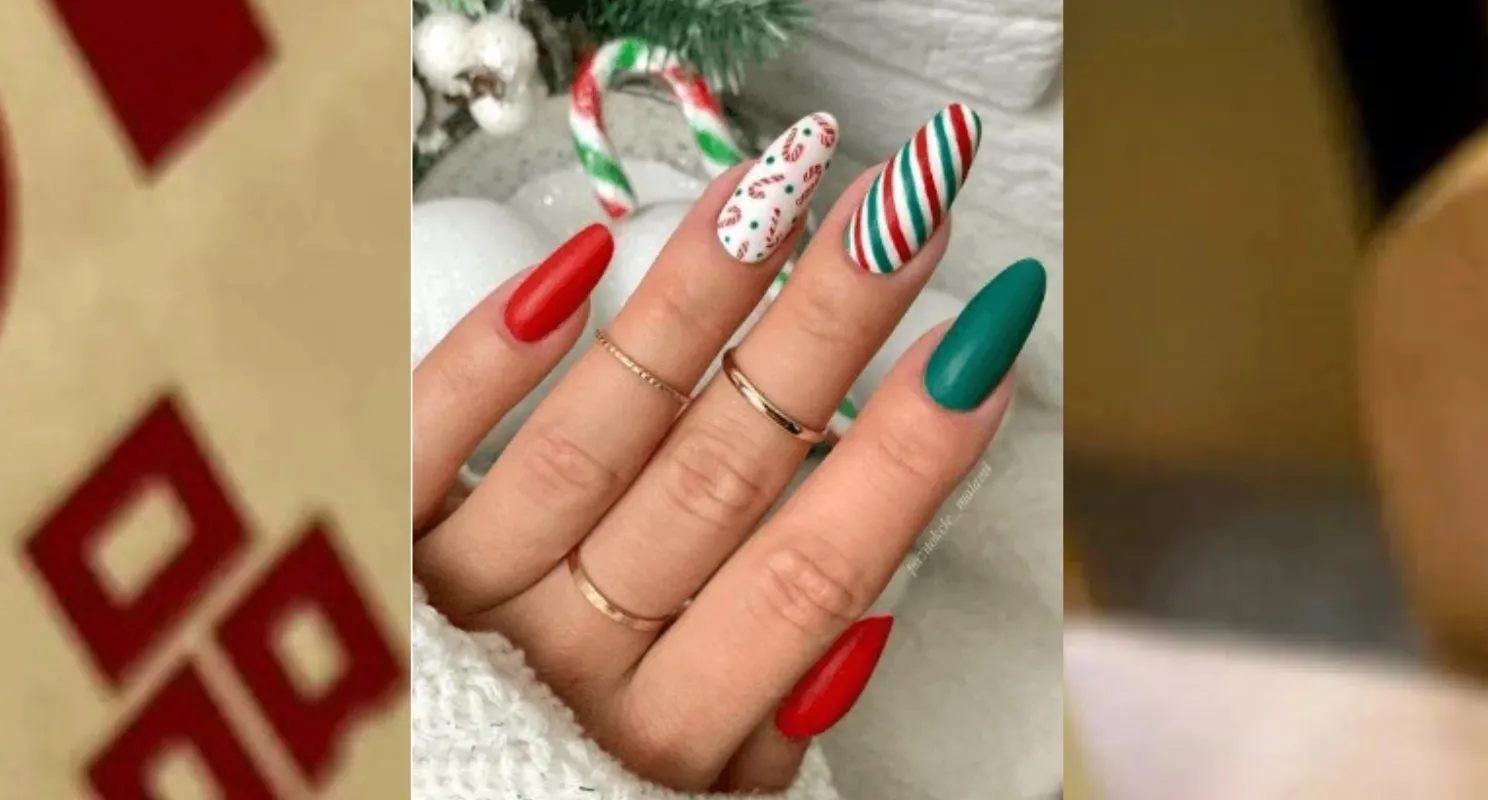
Candy cane nails bring one of the most recognizable Christmas treats straight to your manicure. Start with a white or pale pink base and paint alternating red and white diagonal stripes on one or more nails. A thin striping brush helps keep the lines even, although nail art tape can make the process easier. For a simpler version, decorate just your accent nails and leave the rest solid red.
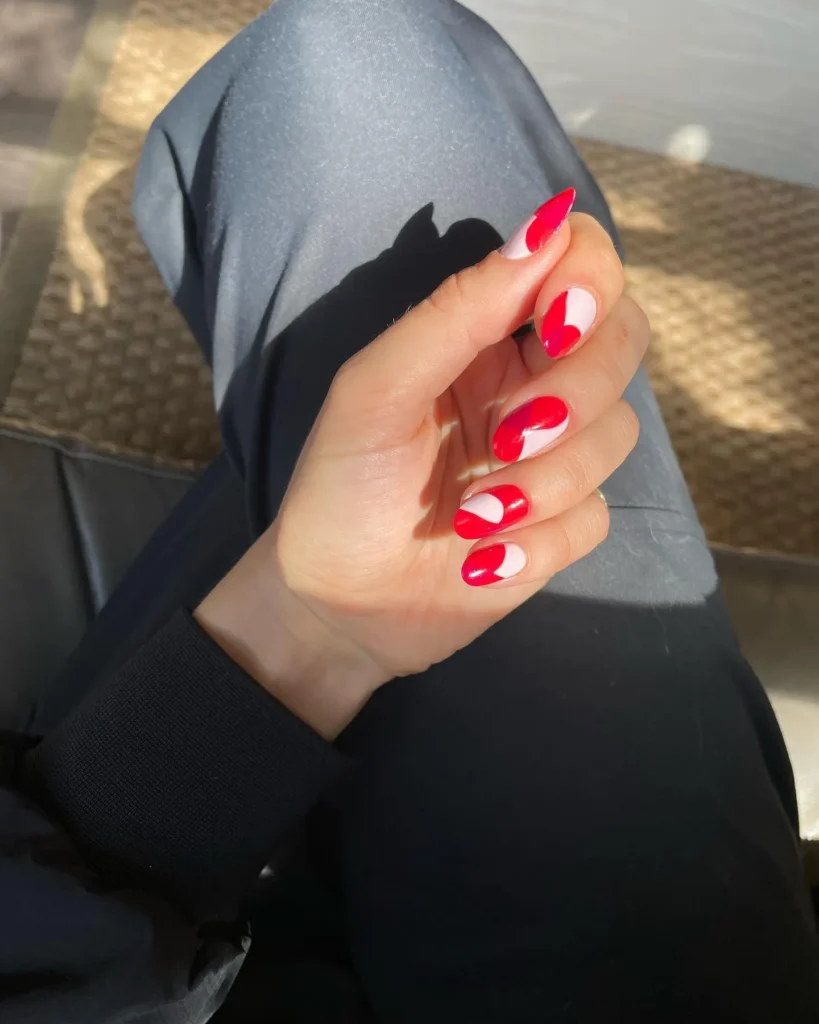
5. Fairy Dust
Soft shimmer can make a Christmas manicure feel magical without relying on elaborate patterns. Fairy dust nails use fine, reflective glitter or iridescent powder over a sheer pink, nude, or milky white base. The result catches the light with every movement and gives your nails a delicate frosted appearance. Choose a fine glitter topcoat for an easy at-home version that does not require detailed nail art.
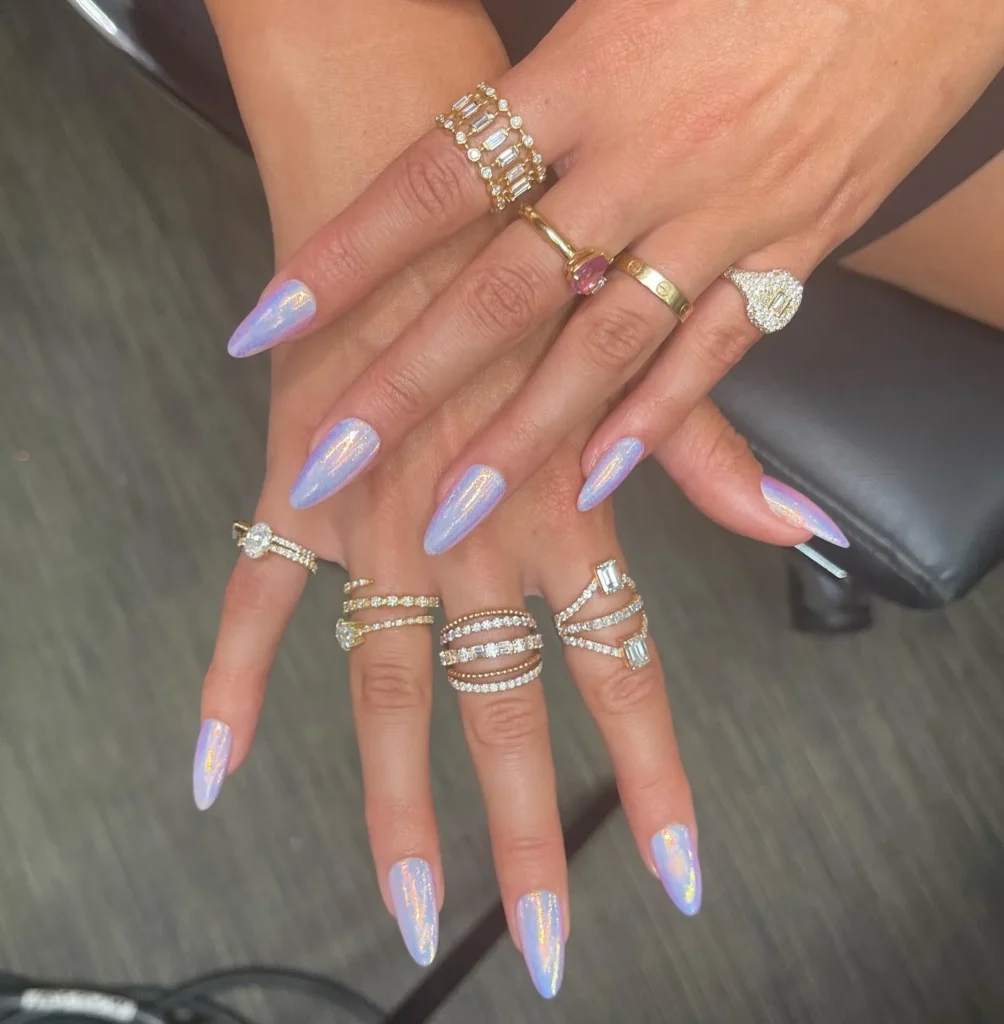
6. Golden Accents
A few gold details can transform an ordinary manicure into something that feels ready for Christmas celebrations. Begin with a neutral, burgundy, or deep green base, then add small gold stars, delicate lines, or metallic dots. Gold foil is another option if you want a slightly textured finish. Keeping the decoration limited to selected nails prevents the design from looking too busy.
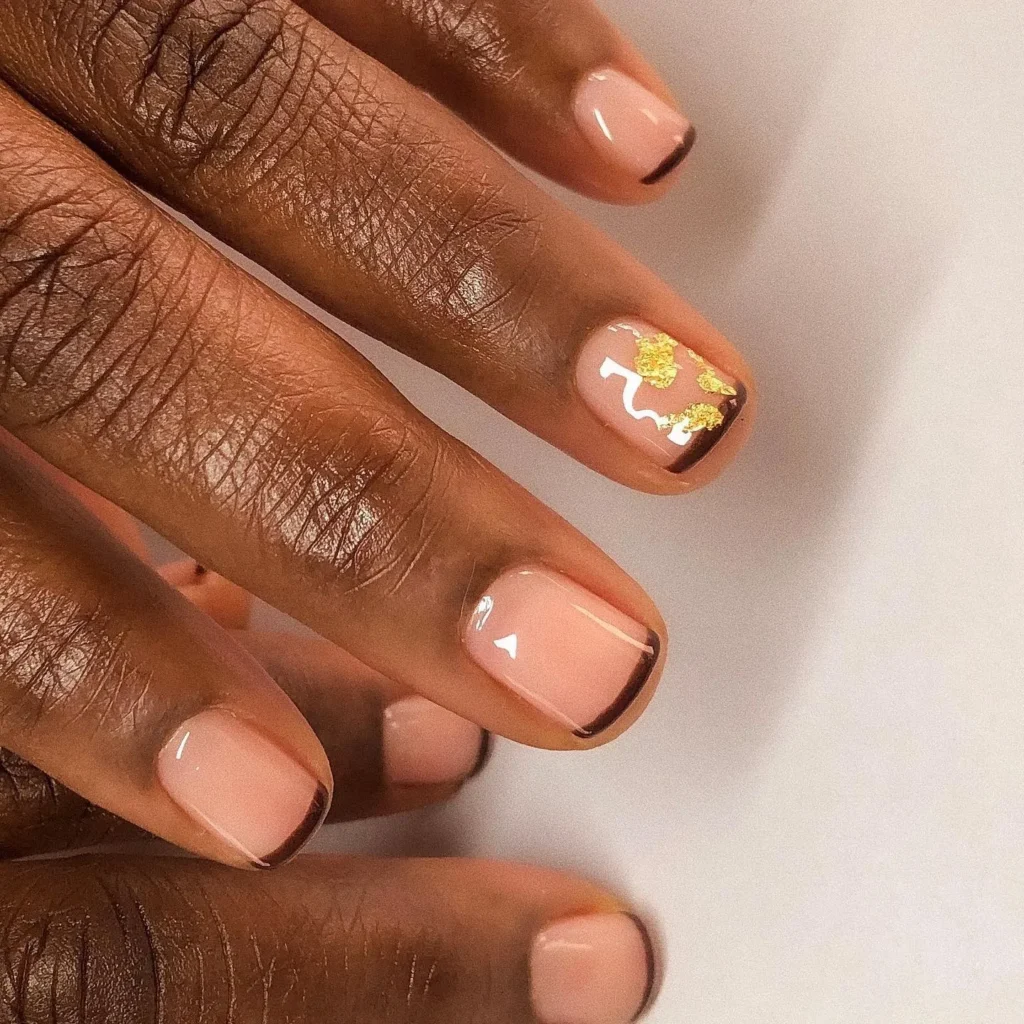
7. Outlined
Outlined nails put a creative spin on simple solid-color manicures by adding a fine border around the nail or along its edges. For a festive interpretation, combine a deep red, emerald green, or creamy white base with a contrasting gold or silver outline. A thin liner brush is useful for creating precise borders, while metallic nail art pens offer a convenient alternative for beginners.
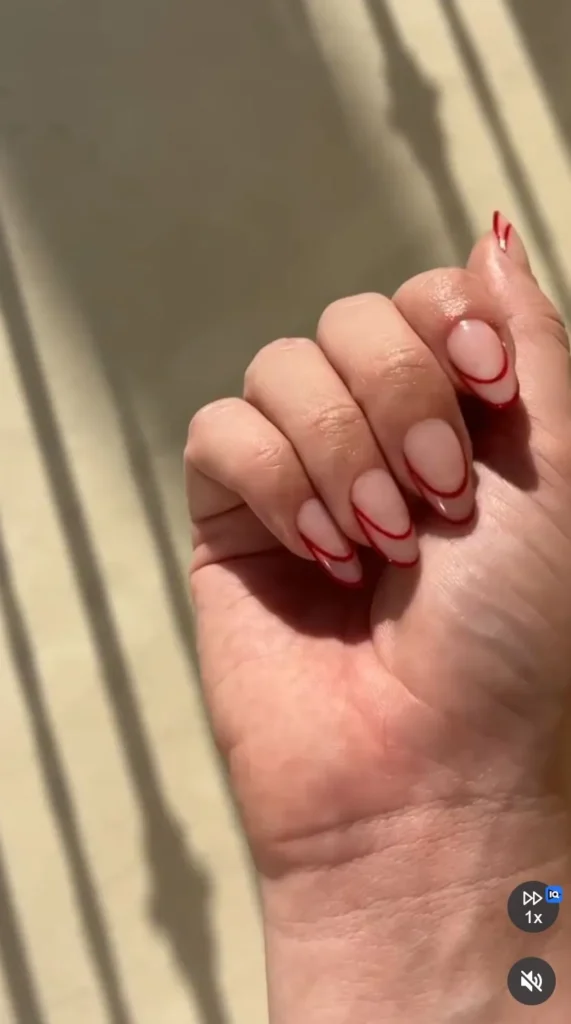
8. Christmas Greenery
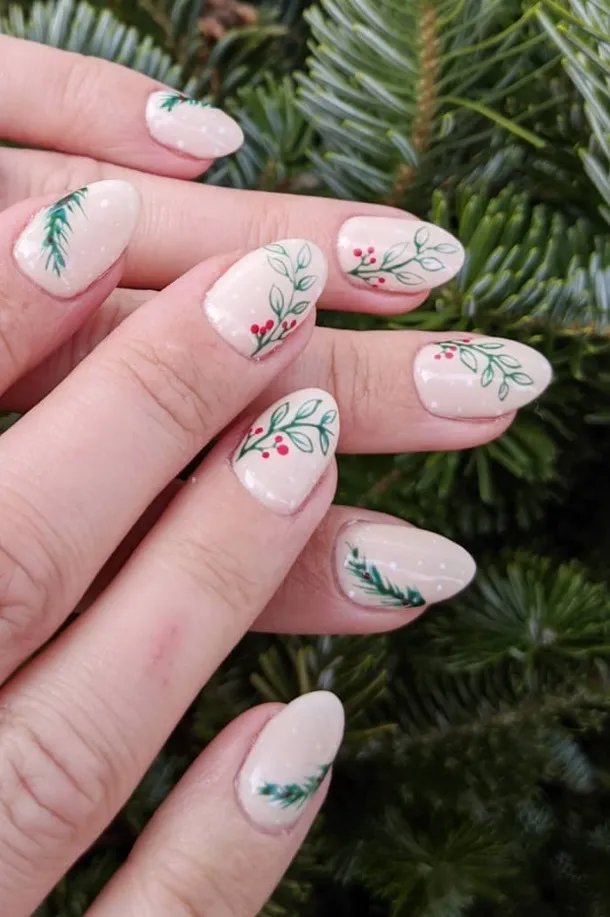
Bring the look of traditional holiday decorations to your fingertips with delicate Christmas greenery. Paint tiny evergreen branches, pine sprigs, or simple leafy details over a nude or milky white base. A few red berries or miniature gold dots can complete the design without overwhelming it. This manicure works particularly well as an accent nail paired with solid forest green or cream-colored polish.
9. Half-Moon Sparkles
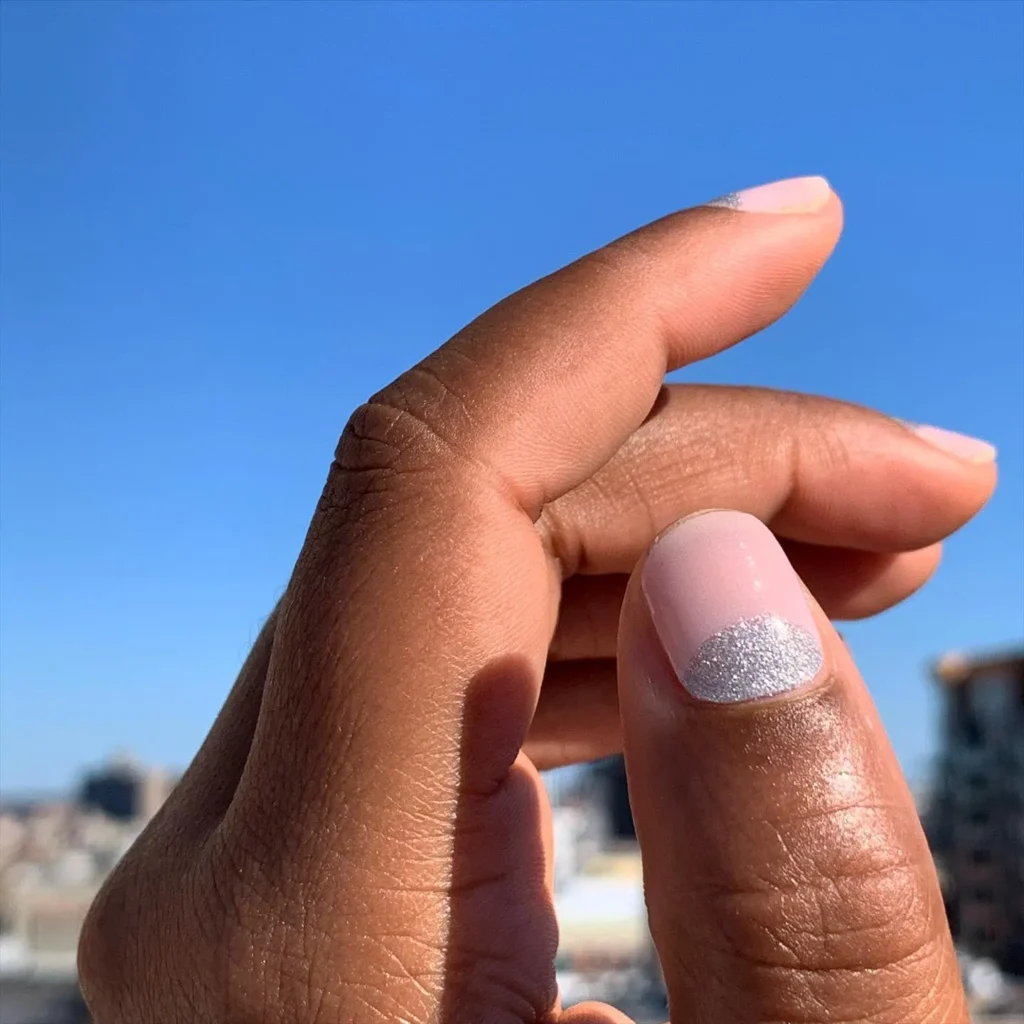
Half-moon manicures draw attention to the curved area near the cuticle, and adding glitter makes them feel especially festive. Apply a neutral or sheer base, then outline the natural half-moon shape with silver or gold glitter. You can leave the remaining nail bare or add a complementary holiday shade. French manicure guides or small nail stickers can help create a clean curve.
10. Glazed Donut Nails
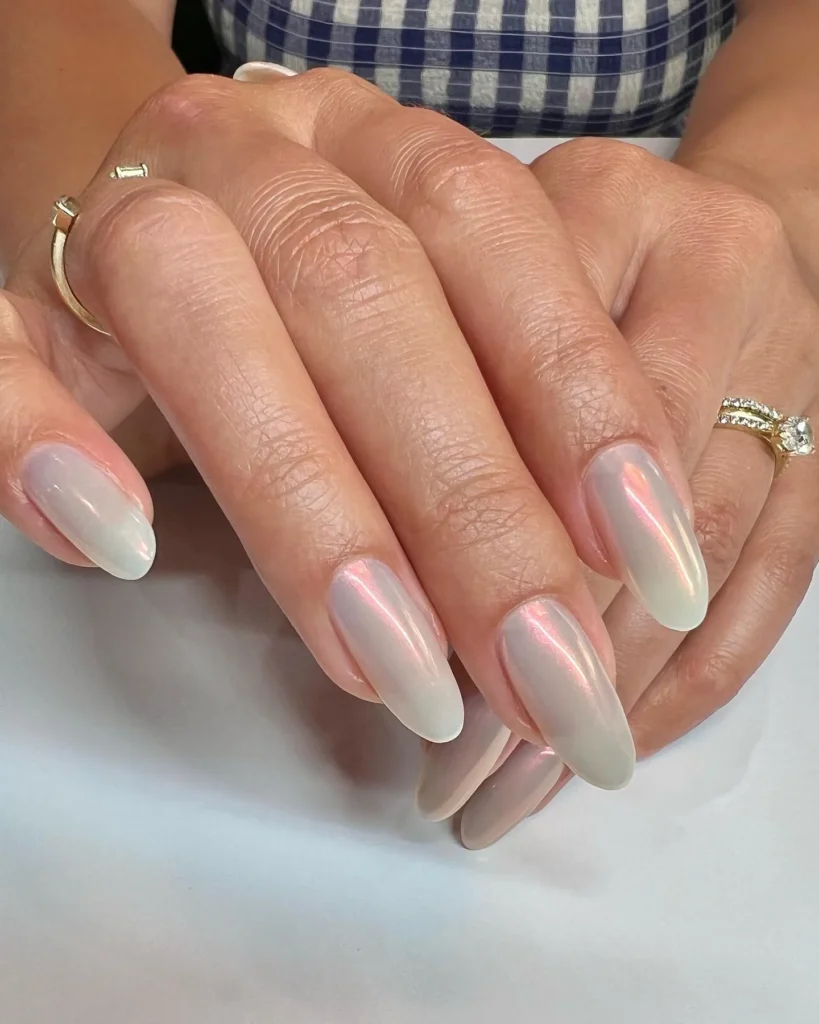
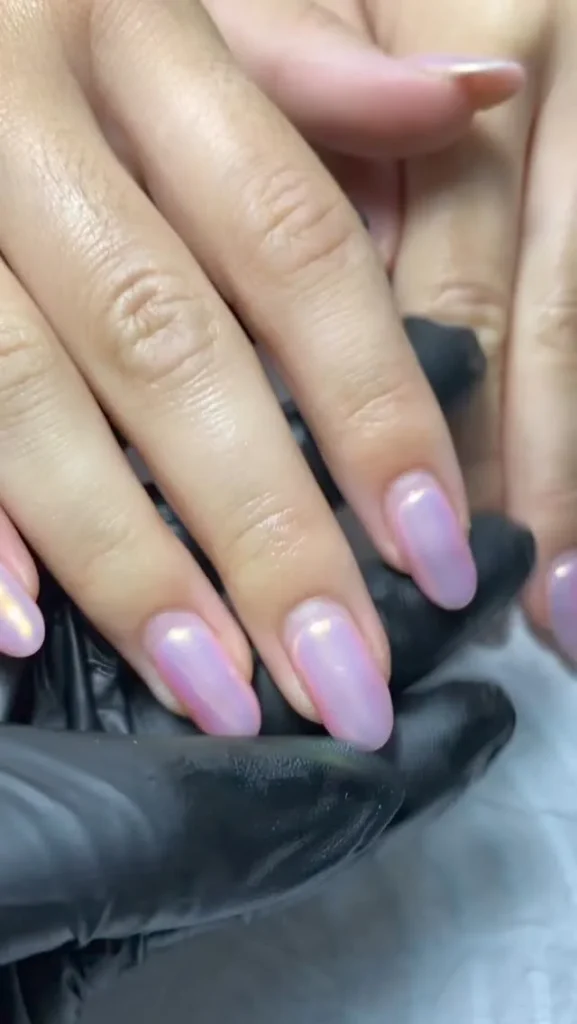
The glazed donut manicure gets a winter-ready update with a pearly, frosted finish that looks understated but catches the light beautifully. Use a sheer milky white or pale pink base and finish with a pearlescent chrome powder or shimmer topcoat. The soft shine makes this a lovely alternative to traditional Christmas nail art, particularly if you prefer neutral colors and minimal decoration.
11. Grinch Manicure
Add a playful touch to your holiday manicure with a bright green Grinch-inspired design. Use a vivid lime or apple-green polish as the base, then create a small Grinch face or mischievous expression on an accent nail. Red details can reference the character’s Christmas story, while a green glitter finish adds extra dimension. If detailed character art feels difficult, simple green French tips offer an easier alternative.
12. Tree Lights
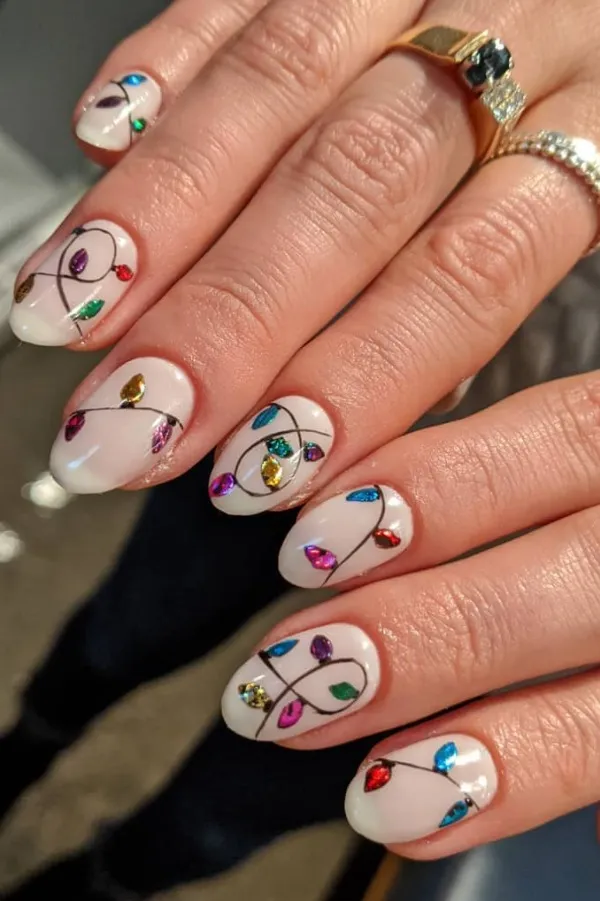
Colorful Christmas lights make a cheerful nail design that stands out against a simple background. Paint a thin, wavy black line across a white, nude, or pale pink base, then add tiny red, blue, yellow, and green dots to represent the bulbs. A dotting tool or the end of a toothpick works well for the colorful details, making this design surprisingly manageable at home.
13. Red Glitter
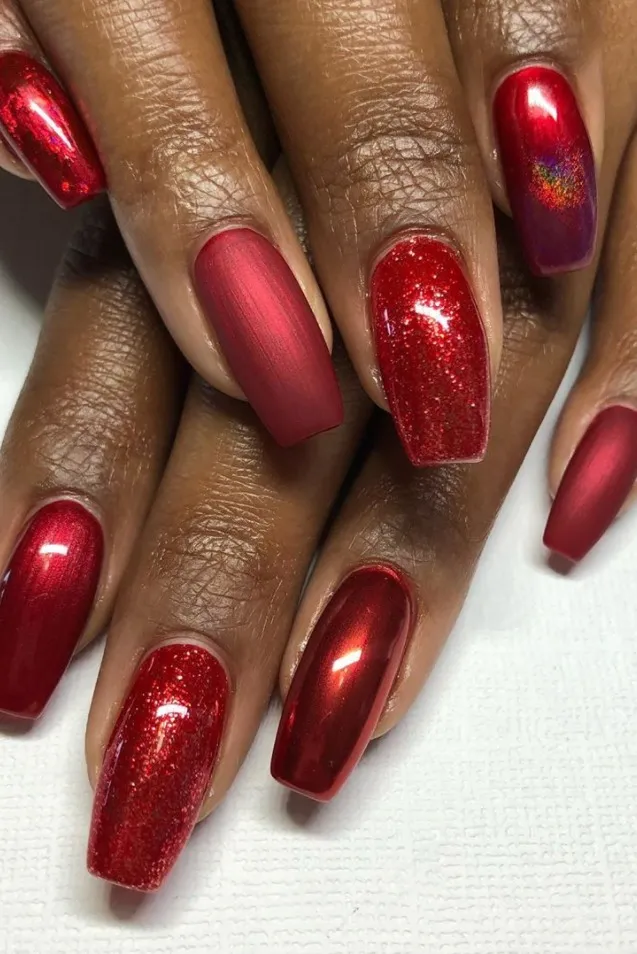
Red glitter nails are a festive classic that require very little additional decoration. Choose a rich cranberry, ruby, or cherry-red glitter polish and apply it across all your nails for a bold holiday manicure. If you prefer a more balanced appearance, use glitter on two accent nails and keep the remaining nails in a matching glossy red. A smooth topcoat helps create an even finish.
14. Molten Lava
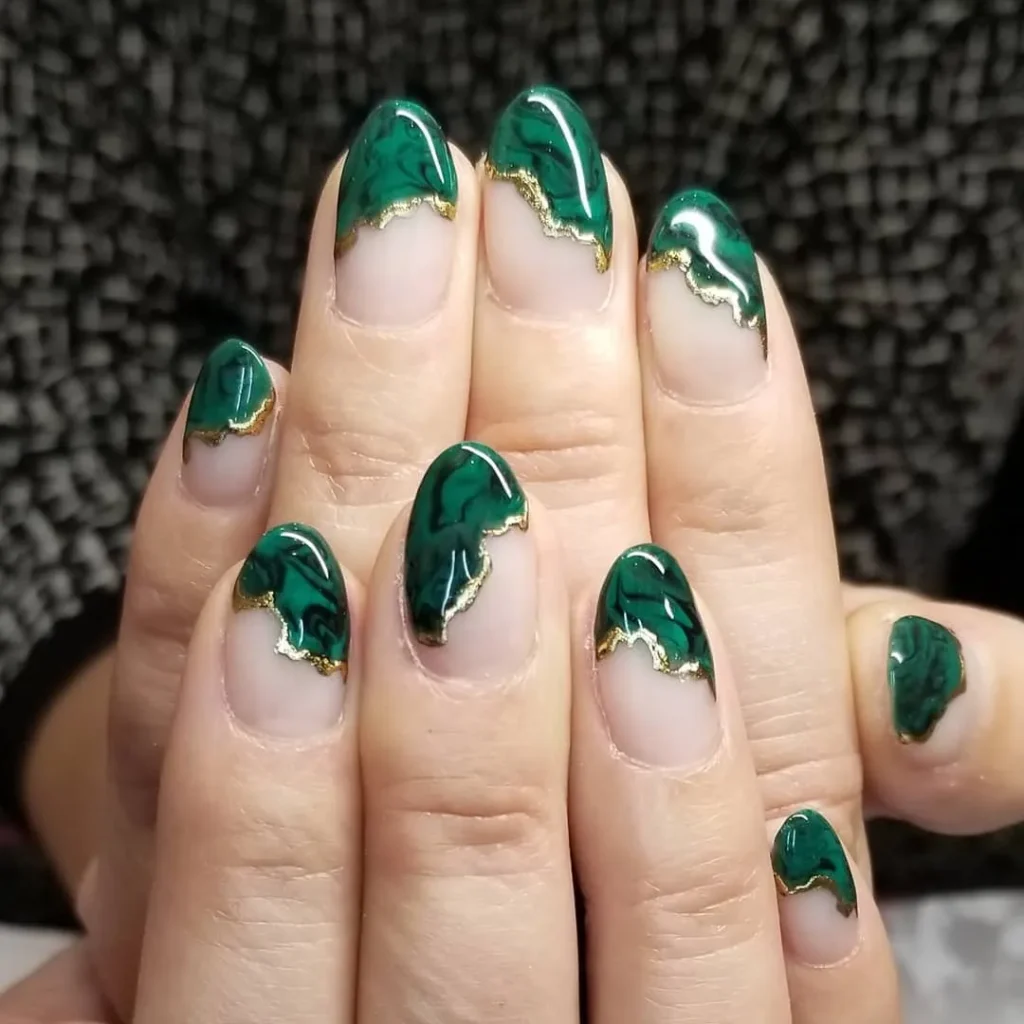
For a more dramatic Christmas manicure, try a molten lava-inspired design with flowing metallic patterns. A deep burgundy, black, or dark red base creates a striking background for irregular gold or copper swirls that resemble liquid metal. You do not need perfectly symmetrical lines; the uneven movement is part of the appeal. Use metallic gel polish or gold nail art paint to achieve the effect.
15. Ho Ho Ho
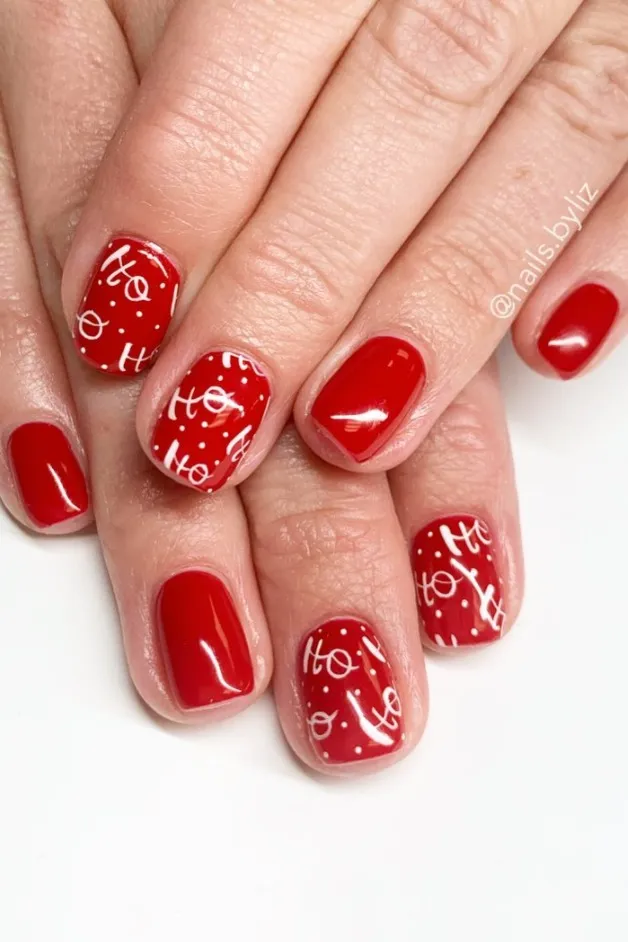
Give your nails a playful Christmas message with tiny Ho Ho Ho lettering. A creamy white or nude base provides a clean background for red, green, or metallic gold letters. You can place the words across one accent nail or distribute individual letters over several fingers. Nail art stickers are an easy option if painting small, readable lettering with a brush feels challenging.
16. Muted Red
Not every Christmas manicure needs bright scarlet or sparkling finishes. Muted red shades such as dusty rose, brick red, and soft cranberry offer a more understated interpretation of traditional holiday colors. Apply your chosen shade across all nails and finish with a glossy topcoat for a simple, coordinated look. This color palette is particularly appealing if you want something festive that remains suitable after Christmas.
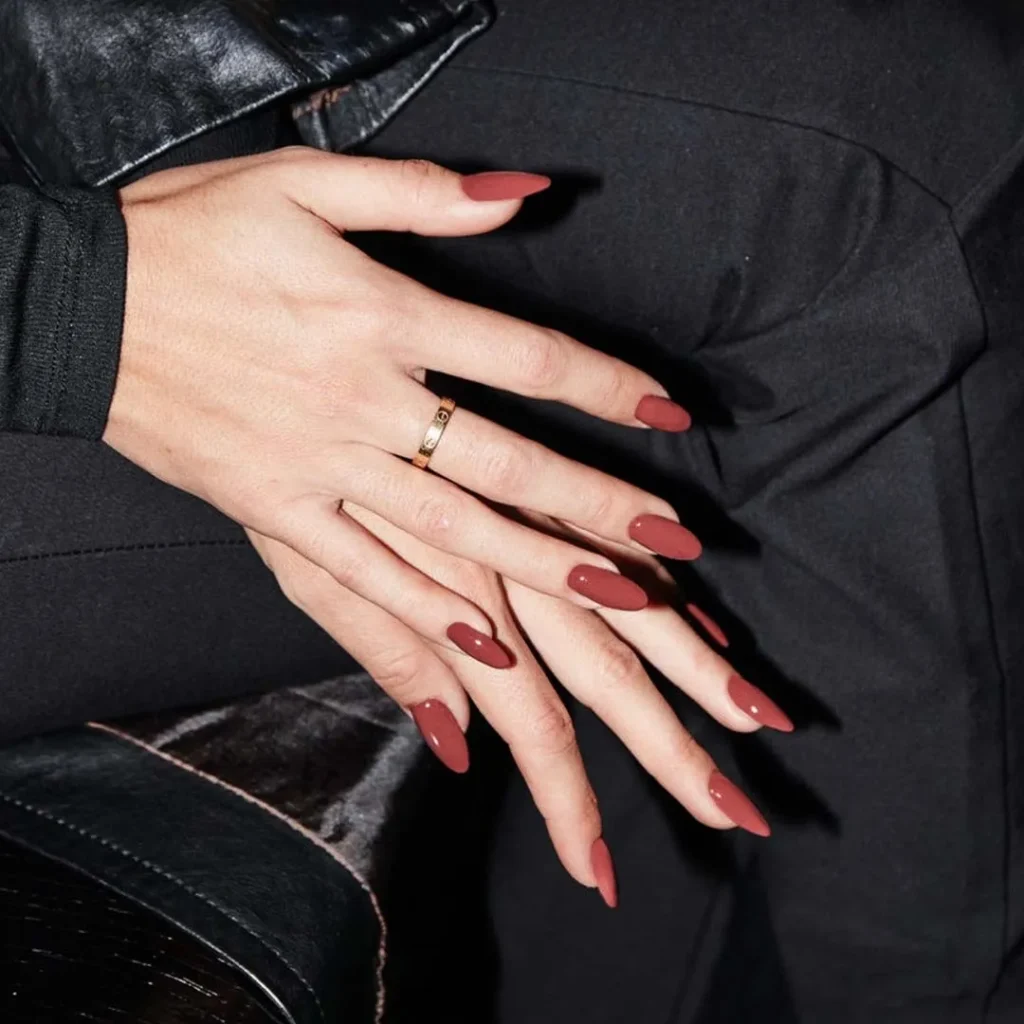
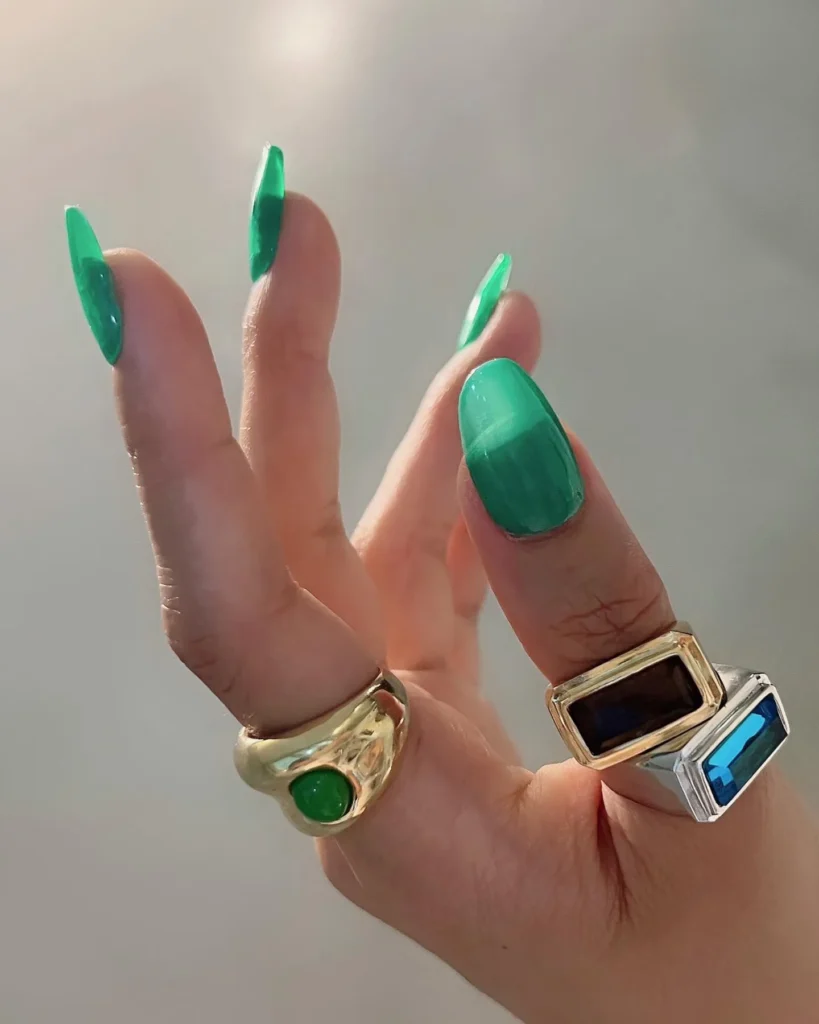
17. Jelly Green
Jelly green nails have a translucent, glass-like appearance that gives traditional Christmas green a lighter and more playful feel. Choose a sheer emerald or forest-green polish and apply thin coats until you reach your preferred level of color. A glossy finish enhances the see-through effect, while a few gold stars or tiny white snowflakes can add a seasonal detail without hiding the translucent base.
18. Soft Ombré
A soft ombré manicure creates a gradual transition between two complementary colors rather than using a sharp dividing line. For Christmas, blend milky white into pale pink, nude into cranberry, or icy silver into a cool blue. A makeup sponge can help diffuse the colors when working with regular nail polish. Finish with a glossy topcoat to soften the gradient and give the design a smooth appearance.
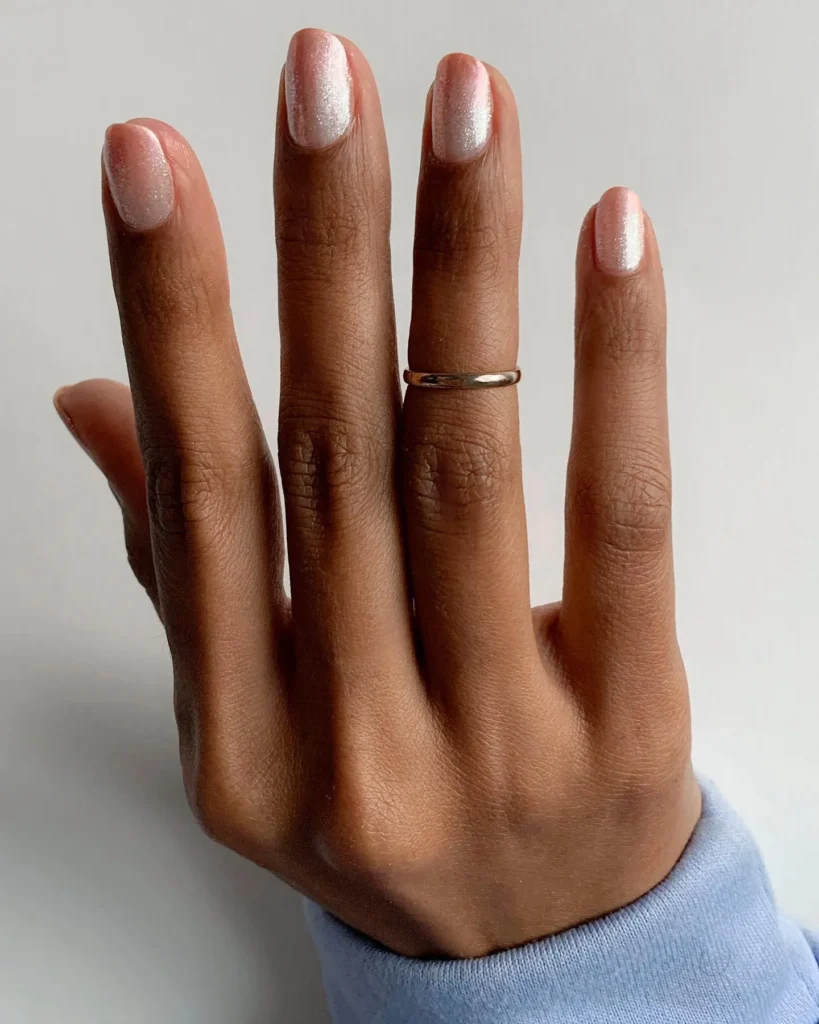
19. Golden Stars
Tiny golden stars are an easy way to introduce a festive detail without committing to an elaborate manicure. Apply a neutral, deep green, burgundy, or midnight-blue base, then position small gold star stickers across selected nails. You can also paint individual stars using a fine nail art brush. Leave plenty of open space around the decorations to keep the overall design delicate and balanced.
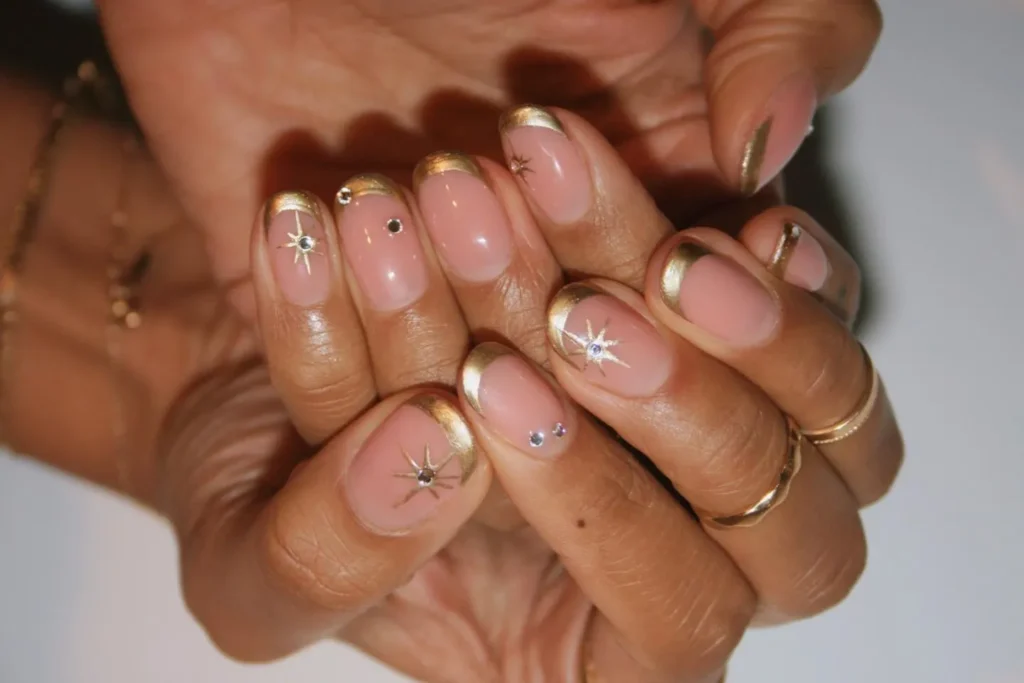
20. White and Black
Black and white create a striking combination for a Christmas manicure that moves away from the usual red and green palette. Try alternating solid black and white nails, or decorate a white base with tiny black stars, snowflakes, and graphic lines. A few silver details can introduce a subtle festive shine. The contrast makes even simple patterns noticeable, so complicated artwork is unnecessary.
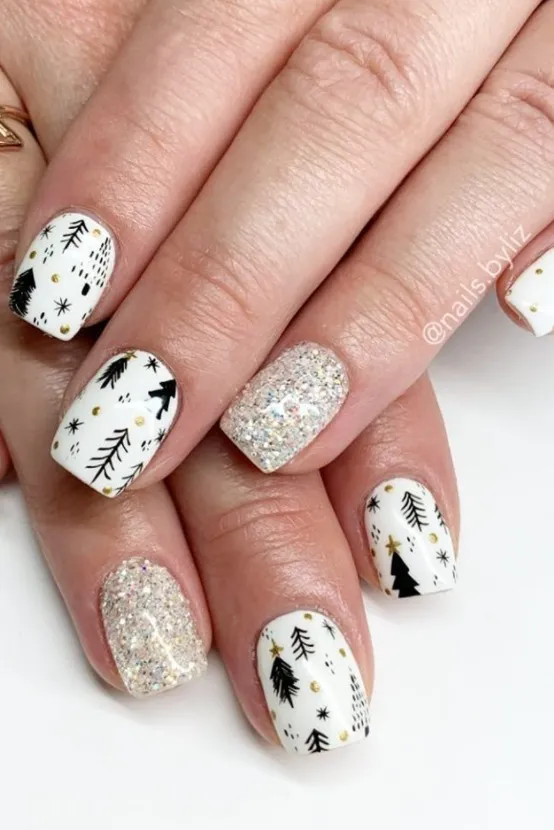
21. Winter White
A winter-white manicure captures the clean, frosty appearance of freshly fallen snow. Choose an opaque white, soft ivory, or milky shade and apply two thin coats for an even finish, adjusting the coverage to suit your preferred look. A pearl-effect topcoat can add a gentle glow, while a single snowflake or silver accent nail introduces a little Christmas character without taking away from the simplicity.
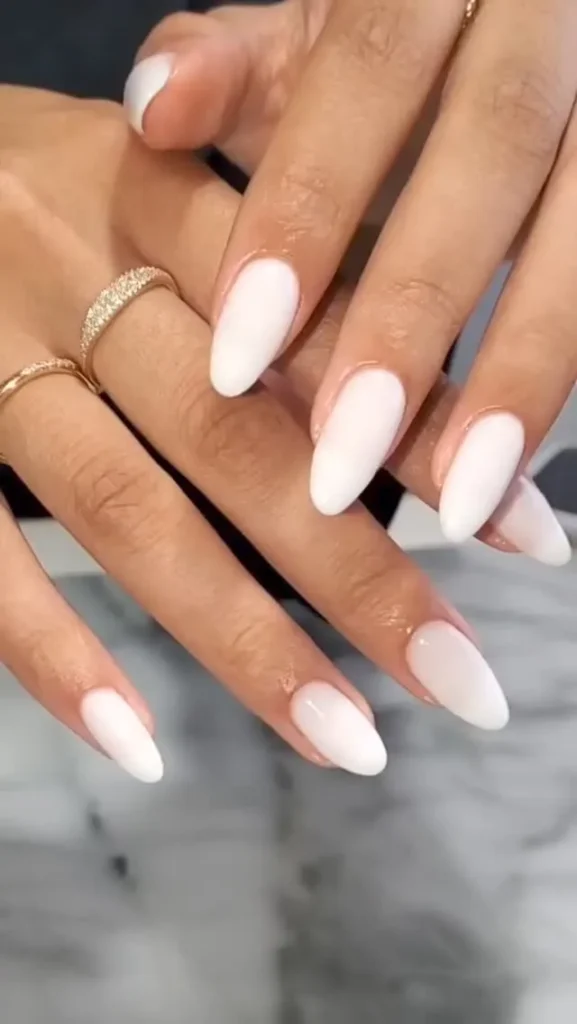
22. Accent Nails
Accent nails are a practical way to enjoy Christmas nail art without decorating every finger. Keep most nails in a coordinated shade such as burgundy, emerald, or nude, then choose one or two fingers for detailed designs. Miniature Christmas trees, snowflakes, candy canes, or glitter patterns all work well. This approach also makes intricate nail art easier to recreate with basic tools.
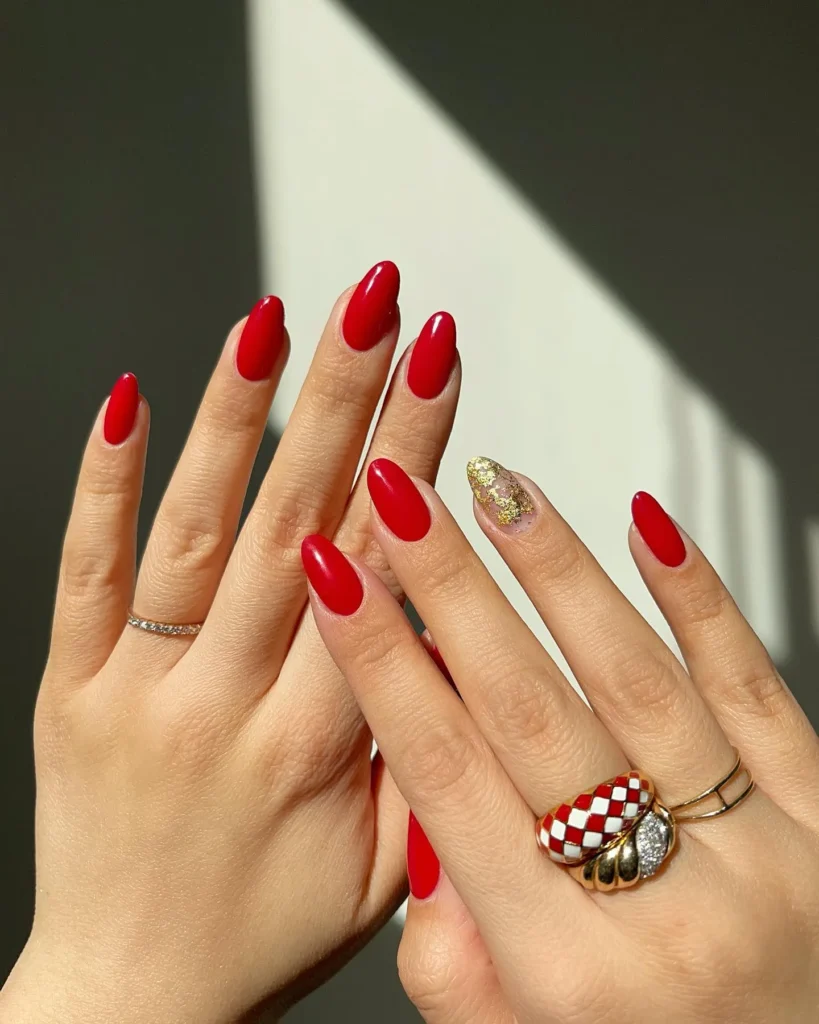
23. Moody Winter
Deep, atmospheric shades offer a sophisticated alternative to bright Christmas colors. Think plum, charcoal, midnight blue, dark chocolate, and blackened burgundy, finished with a glossy or velvet-like effect. These colors look particularly striking on short square or almond-shaped nails. Add a little silver shimmer or subtle metallic detailing if you want a seasonal touch without making the manicure overly decorative.
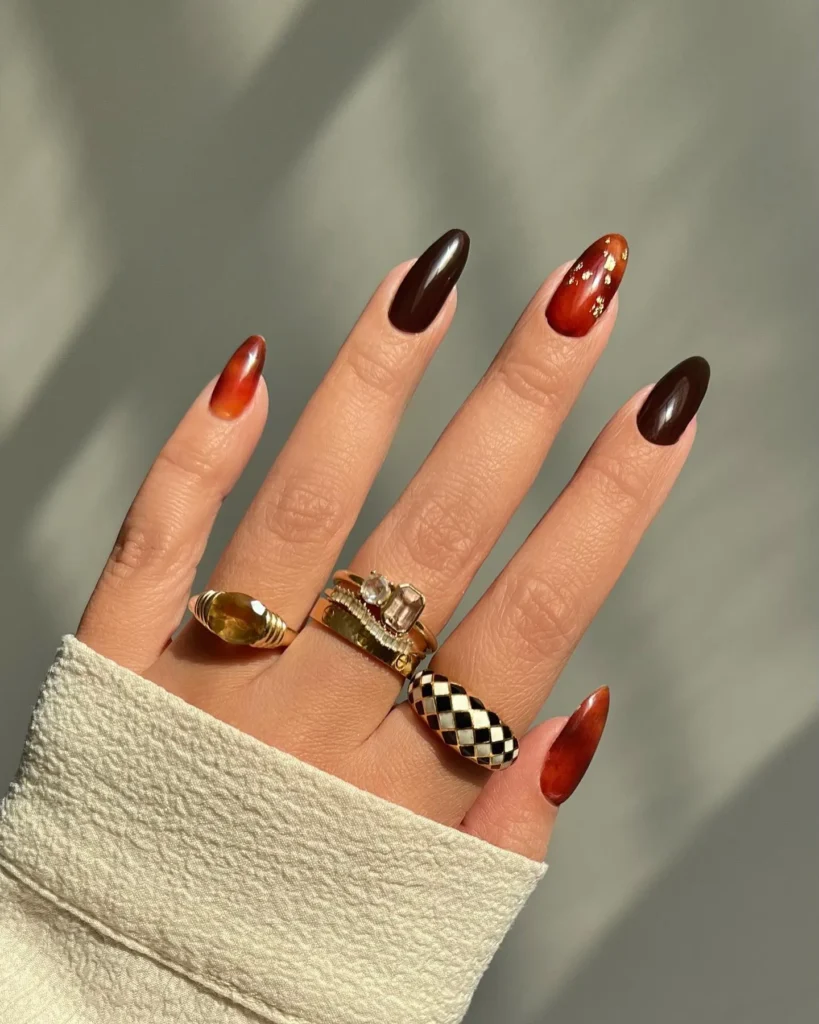
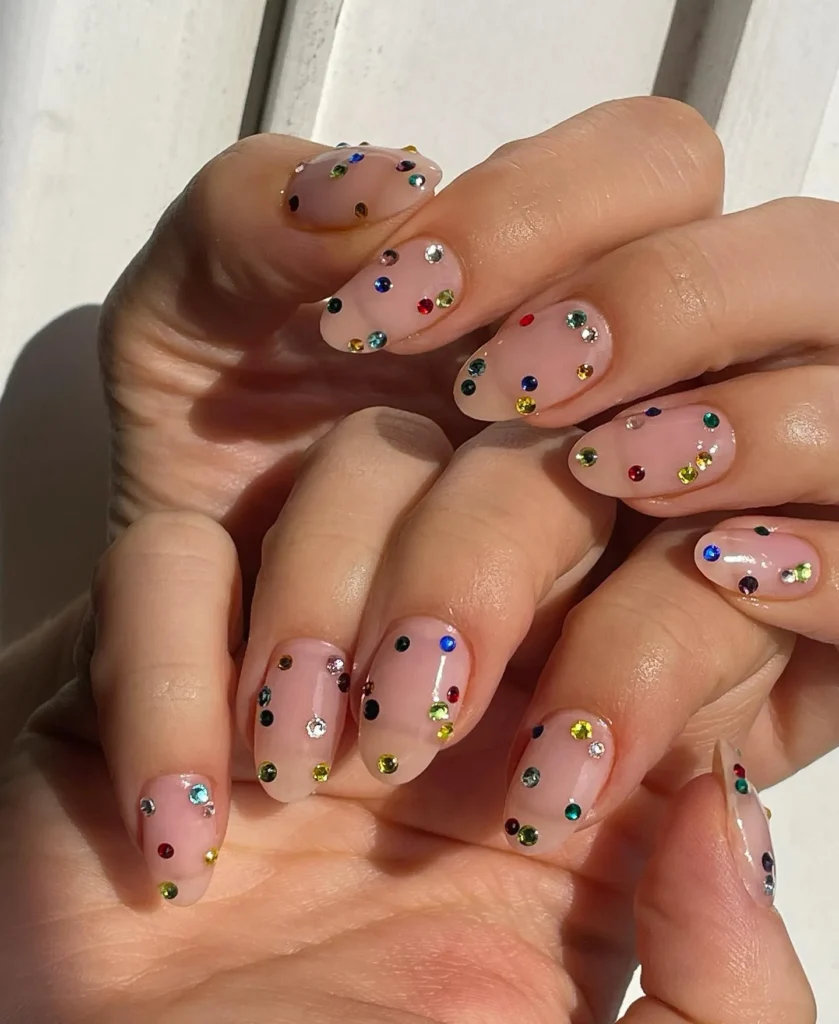
24. 3D Sparkles
For a manicure with extra dimension, experiment with three-dimensional embellishments such as rhinestones, raised glitter accents, and textured nail decorations. A nude, red, or dark green base gives the embellishments a defined background, while small crystals near the cuticle create a delicate effect. Use nail-safe adhesive and seal the edges carefully to help decorations stay in place during holiday celebrations.
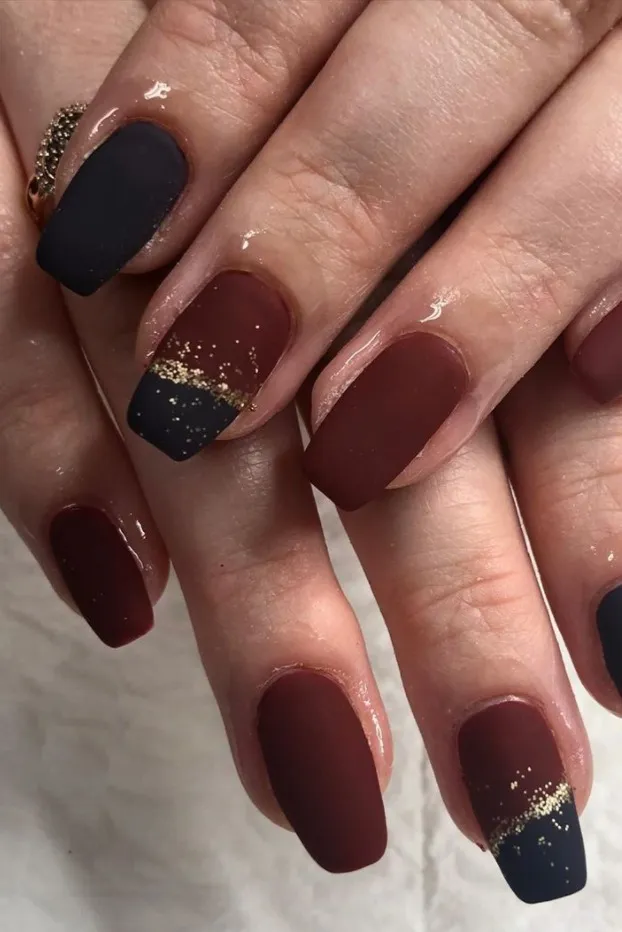
25. Deep Winter Colors
Rich winter shades bring depth to a Christmas manicure and work especially well for anyone who prefers darker colors. Explore deep emerald, navy, oxblood, chocolate brown, and plum, either as individual shades or in a coordinated combination. A glossy finish emphasizes the richness of the polish, while a few understated metallic details can make the overall look feel more seasonal.
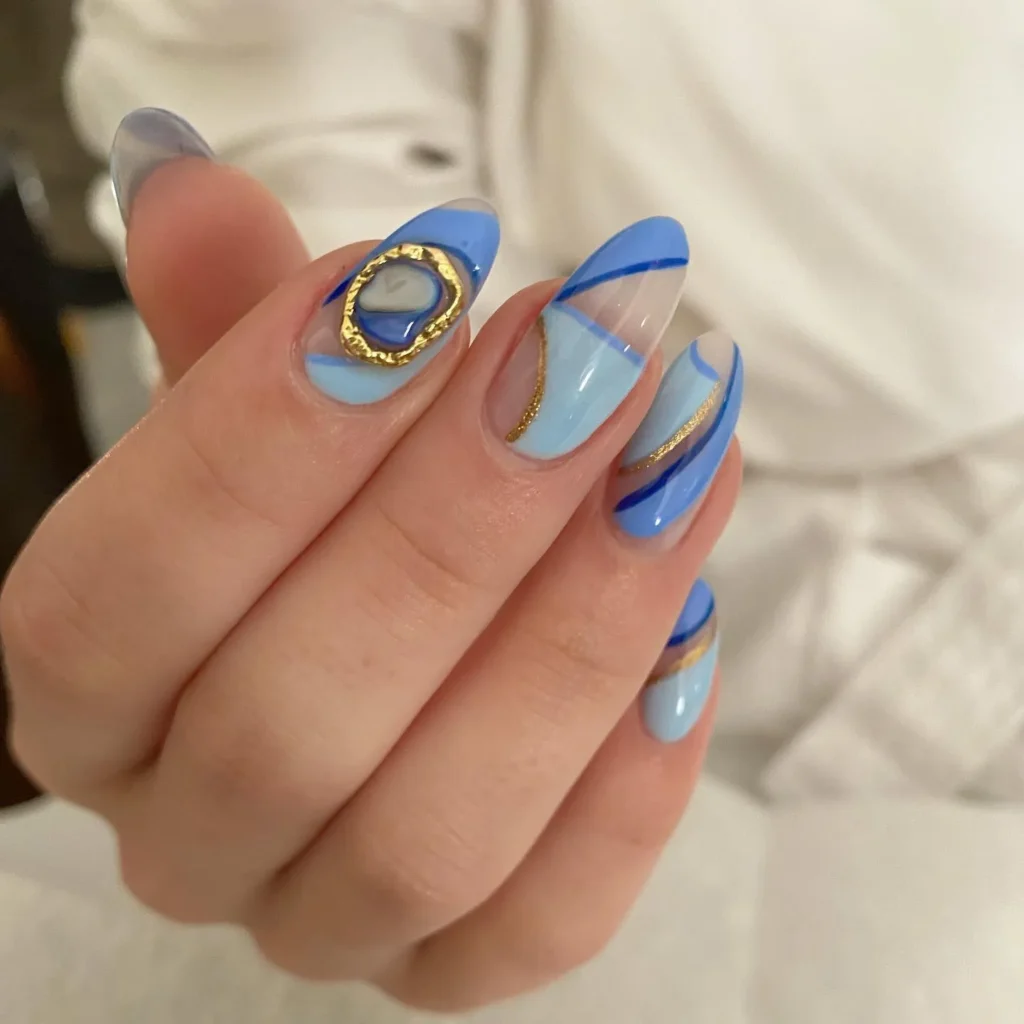
26. Winter Blues
Cool blue shades create a refreshing alternative to traditional Christmas red and green. Pale icy blue, frosty silver-blue, and deeper sapphire tones all work beautifully for a winter-inspired manicure. Add delicate white snowflakes or small silver stars to create a snowy effect, or keep the nails in a single glossy shade for something simpler. A shimmer topcoat can make lighter blues look especially frosted.
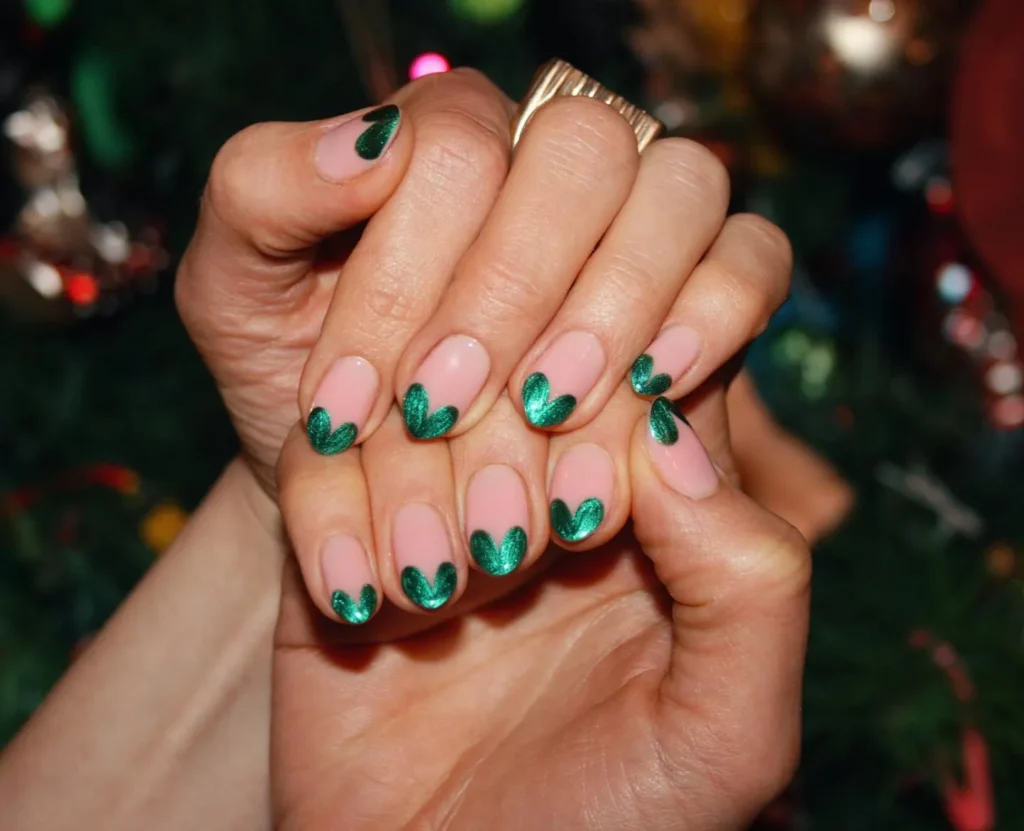
27. Metallic Hearts
Metallic hearts add a romantic detail to festive nail art without making the design overly sweet. Start with a sheer pink, nude, or burgundy base, then place small gold or silver hearts on one or two nails. Metallic heart stickers are convenient for beginners, while a fine brush can be used to paint the shapes by hand. The design works particularly well with short and medium-length nails.
28. Candy Swirls
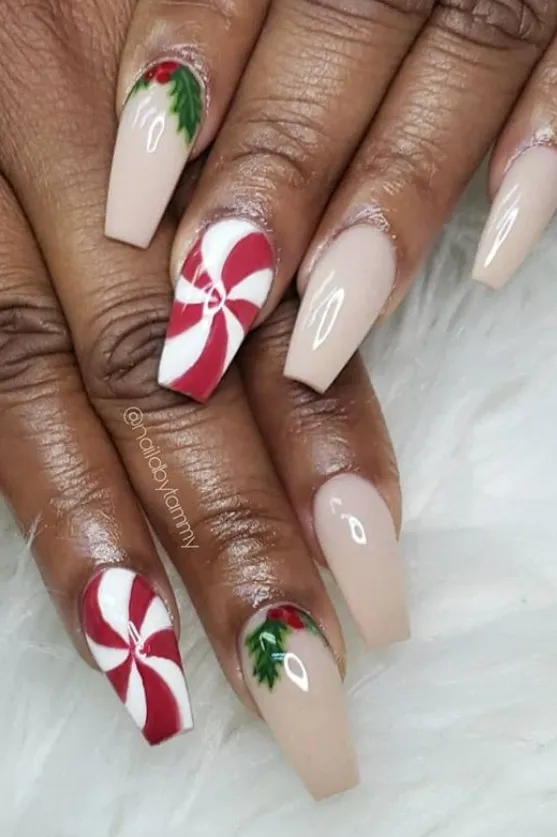
Candy-inspired swirls bring movement and color to a Christmas manicure. Combine red and white, green and cream, or pink and silver in flowing curved lines that overlap across the nail. Unlike traditional candy cane stripes, the patterns can be irregular and more abstract. Use a thin nail art brush to draw the swirls, and choose a light base so the contrasting colors remain clearly visible.
29. A Golden Touch
Sometimes a small amount of metallic polish is all a Christmas manicure needs. Apply a neutral, chocolate brown, burgundy, or dark green base, then add a few delicate gold lines, dots, or foil fragments. You can concentrate the decoration near the cuticles or create a fine accent down the center of each nail. The restrained use of gold gives the manicure a polished holiday finish.
30. Hunter Green
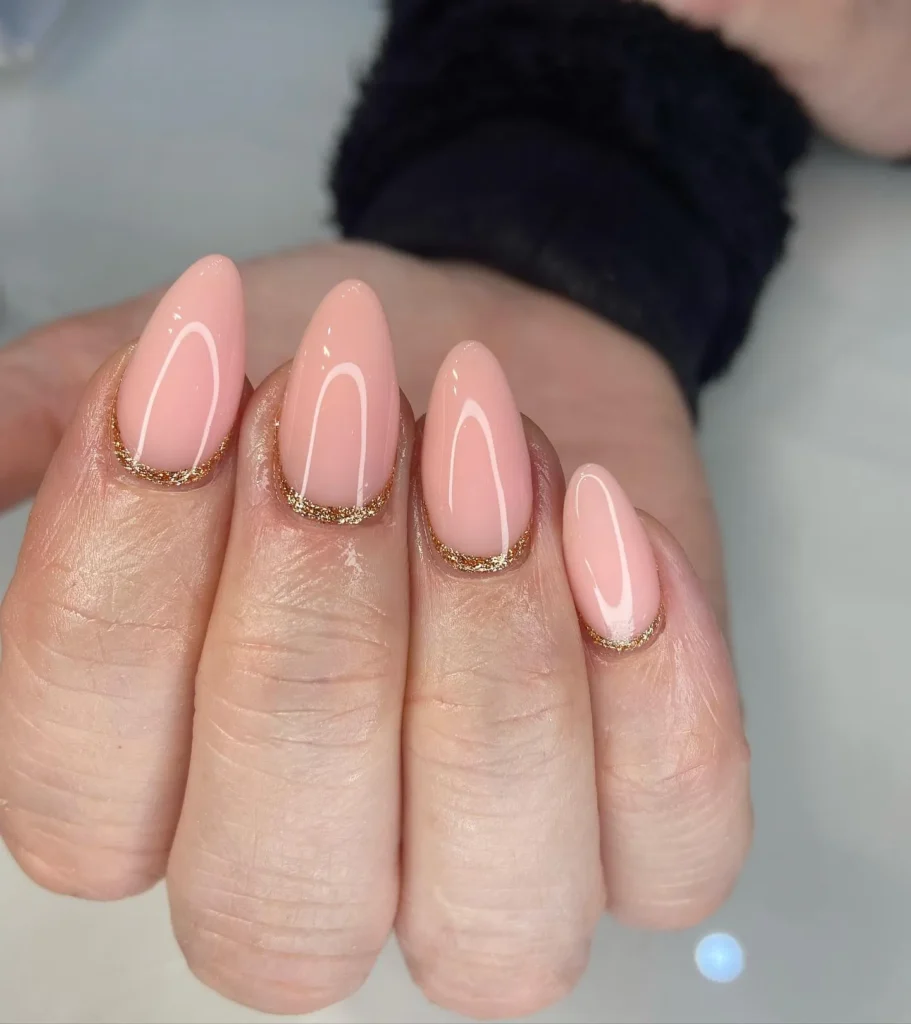
Hunter green is a rich, earthy shade that brings a classic Christmas feel without relying on bright or overly decorative nail art. Apply the deep green polish across every nail for a coordinated manicure, or pair it with cream and metallic gold accents. The shade works particularly well with glossy finishes, although a matte topcoat can create a softer, more understated appearance.
31. Santa and His Reindeer
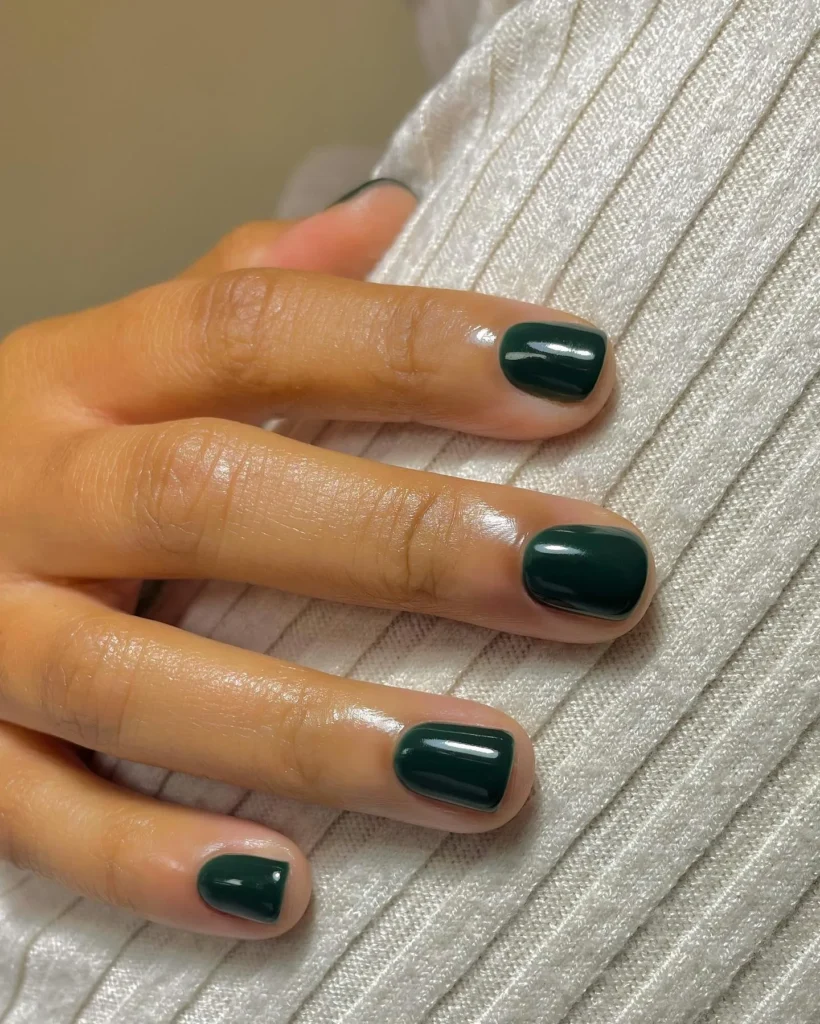
Bring a little Christmas storytelling to your nails with miniature illustrations of Santa and his reindeer. A pale nude or white base provides enough contrast for red Santa hats, tiny reindeer faces, and delicate antler details. Keep the characters on selected accent nails rather than trying to fit everything onto each finger. Nail art stickers can also make this playful design easier to achieve at home.
33. Holly Chic
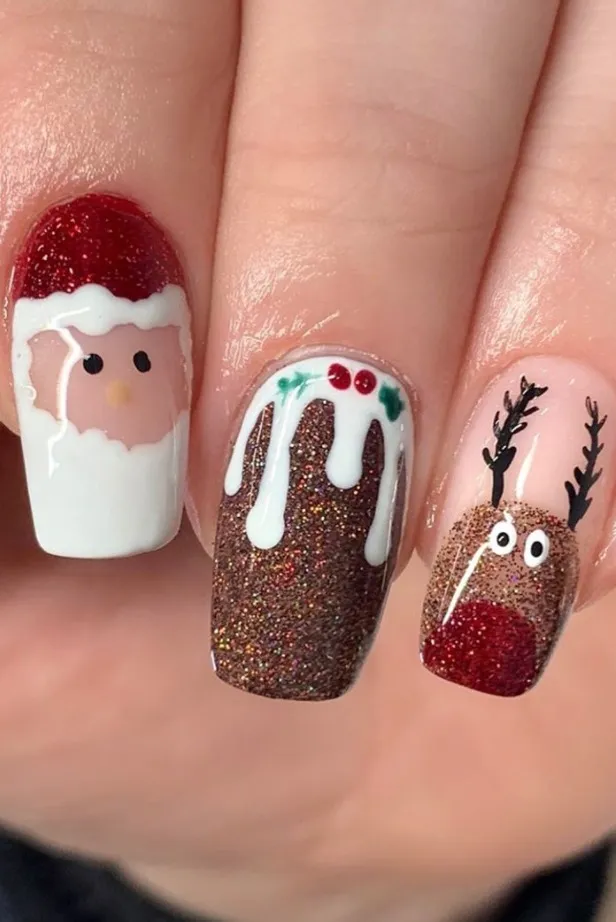
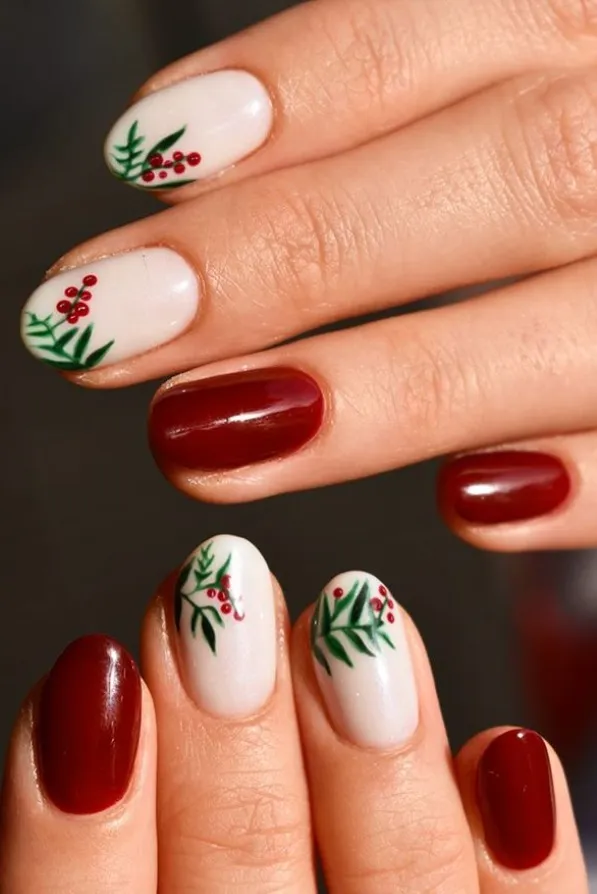
Holly-inspired nail art combines deep green leaves with small red berries for a recognizable Christmas detail. Paint delicate pointed leaves on a nude, white, or pale pink base, then add two or three tiny red dots to represent the berries. You can decorate just one accent nail or repeat a small motif across several fingers. A fine brush makes the leafy shapes easier to control.
34. Rudolph
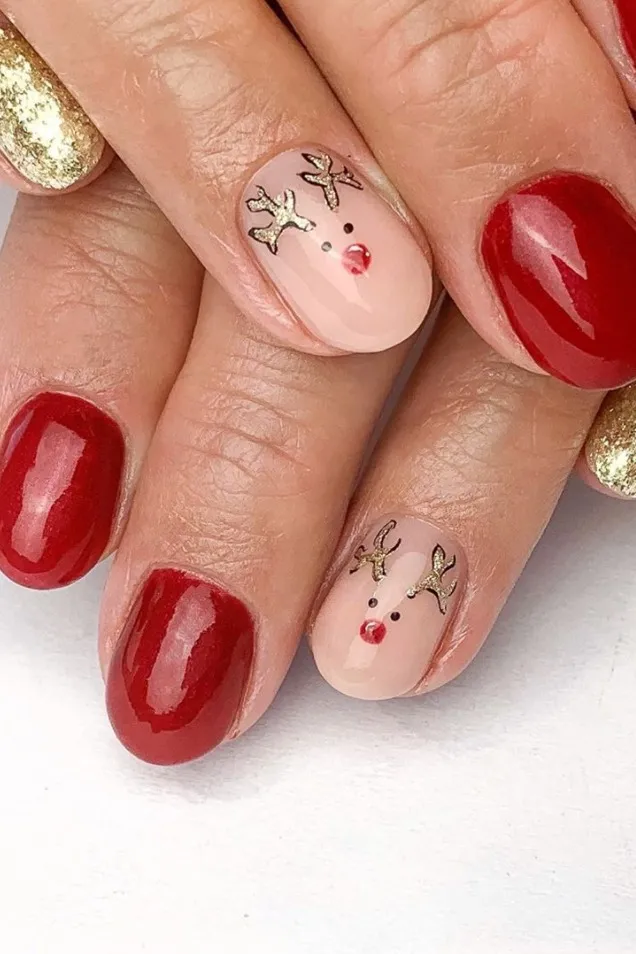
Rudolph nails add a fun character-inspired element to your Christmas manicure. Use a warm brown base or a neutral background, then create a small reindeer face with simple eyes, antlers, and a bright red nose. The character does not need intricate detailing to be recognizable. If painting facial features feels difficult, a single Rudolph accent nail paired with plain red or brown polish keeps things manageable.
35. Fa-La-La
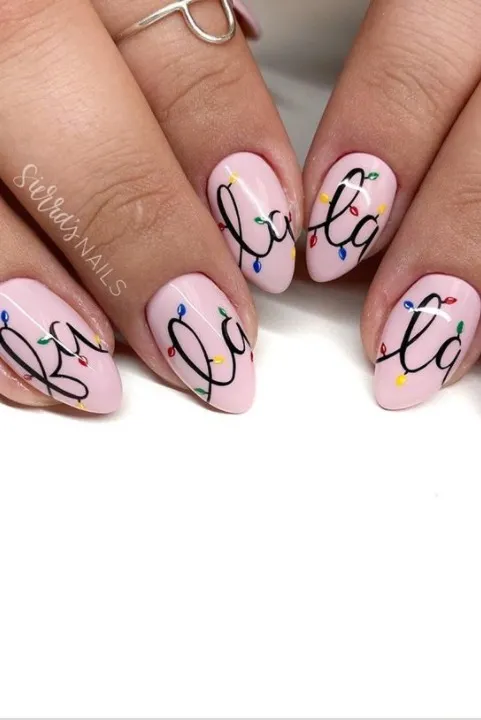
A Fa-La-La manicure celebrates the cheerful side of Christmas with festive lettering and decorative details. Use a clean white, nude, or soft pink base, then add small red or green lettering to one or more nails. Tiny stars, music notes, or gold dots can complete the theme. Lettering decals are particularly useful for creating neat designs without having to paint such small characters by hand.
36. Glittery Green
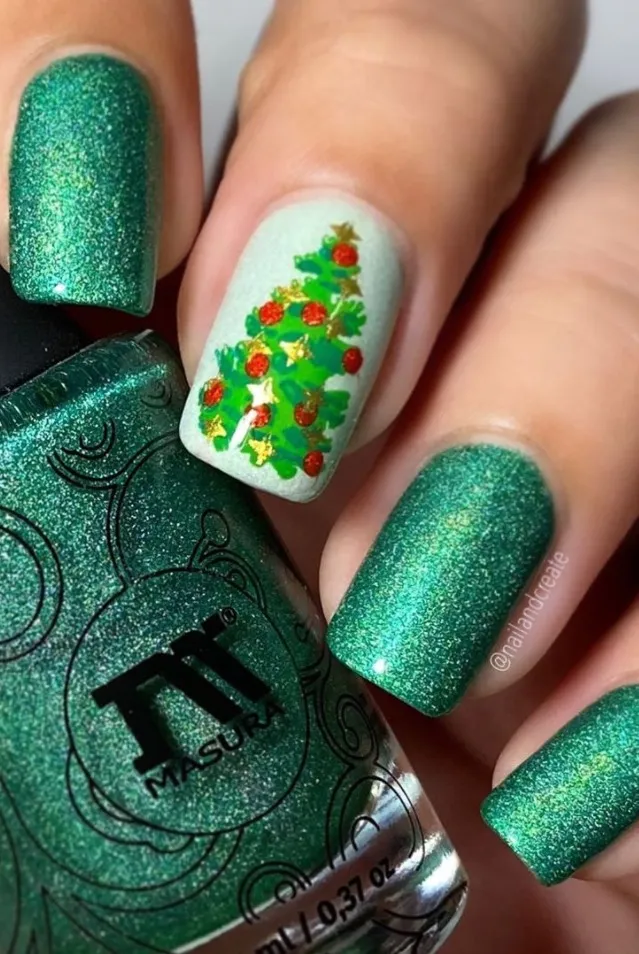
Green glitter nails combine one of Christmas’s signature colors with a reflective finish that catches the light beautifully. Choose emerald, pine, or deep forest-green glitter polish and apply it across the entire nail for a bold look. For something more subtle, use the glitter on alternating fingers and keep the remaining nails in a matching solid green. A glossy topcoat helps create a smooth finish.
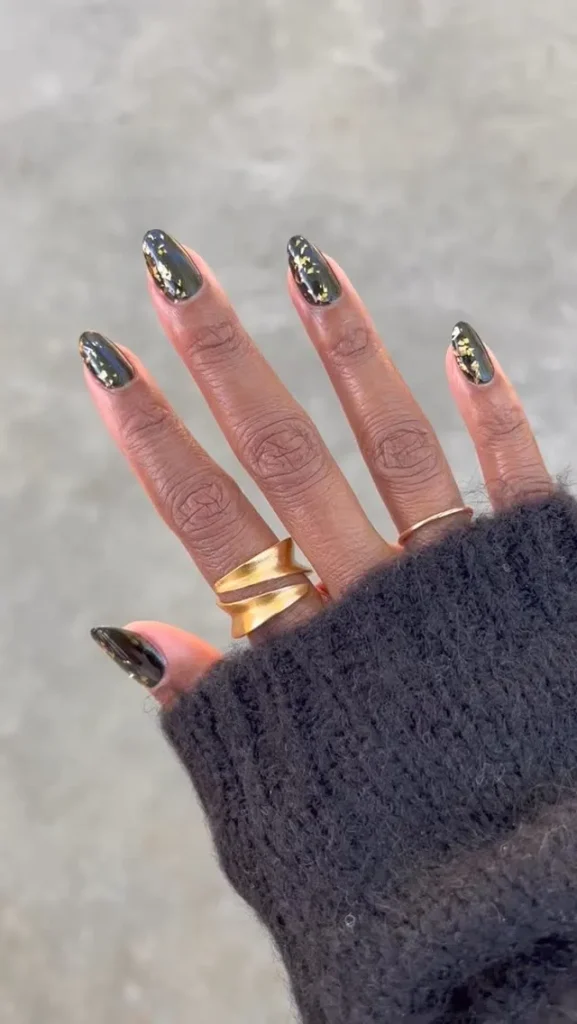
37. Gilded Night
A gilded-night manicure takes inspiration from the sparkle of Christmas evening celebrations. Start with a dark base such as midnight blue, black, or deep burgundy, then add delicate gold foil, metallic stars, or scattered shimmer. The contrast makes the gold details stand out without requiring complicated patterns. Keep the decorations slightly irregular for a relaxed, starry-night effect that looks particularly striking under evening lights.
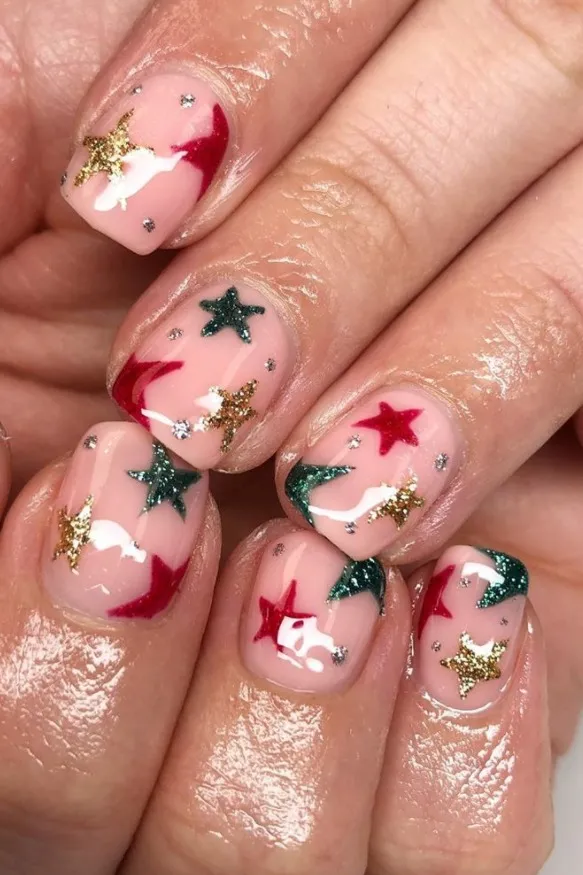
38. Festive Stars
Festive star nails are simple to customize and work beautifully with both neutral and bold polish colors. Place small white, silver, or gold stars over a red, green, nude, or navy base, leaving enough space between each decoration. You can use star-shaped stickers for a quick manicure or paint the shapes with a fine brush. A little glitter around the stars adds extra holiday sparkle.
39. Christmas Tree Ornament
Take inspiration from the colorful decorations hanging on a Christmas tree with an ornament-themed manicure. Paint rounded shapes in red, emerald, gold, or silver over a neutral base, then add tiny metallic caps and delicate hanging lines to make them resemble baubles. You can decorate just one accent nail or create a different ornament on each finger. Small nail art stickers simplify the detailed work.
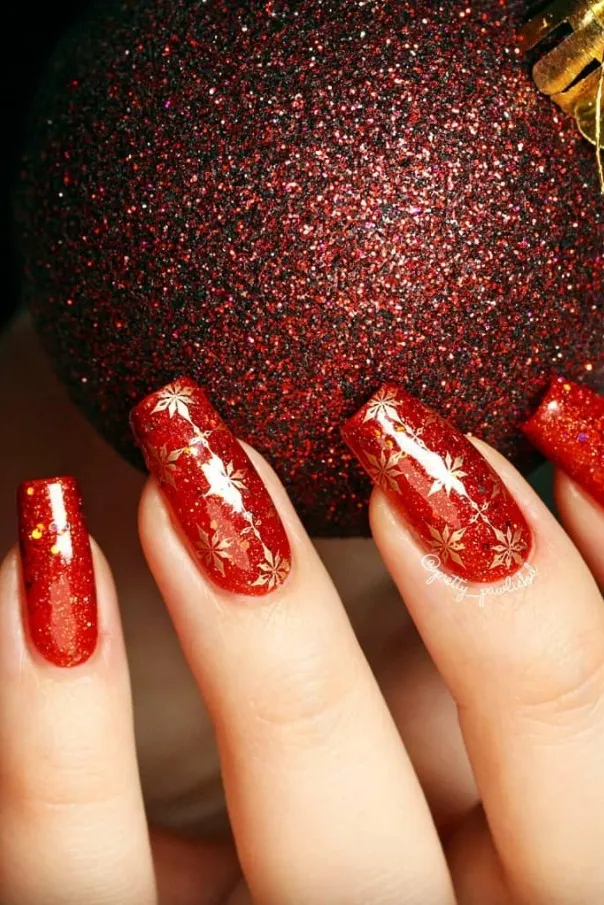
40. Glitter for Days
If you love a manicure that catches everyone’s attention, full-coverage glitter nails are worth considering. Silver, champagne, ruby, and holographic glitter all create a festive finish, especially under Christmas lights. Apply a glitter polish in thin layers or use a dense glitter formula for more coverage. A smooth, glossy topcoat helps reduce roughness and gives the finished nails a more polished appearance.
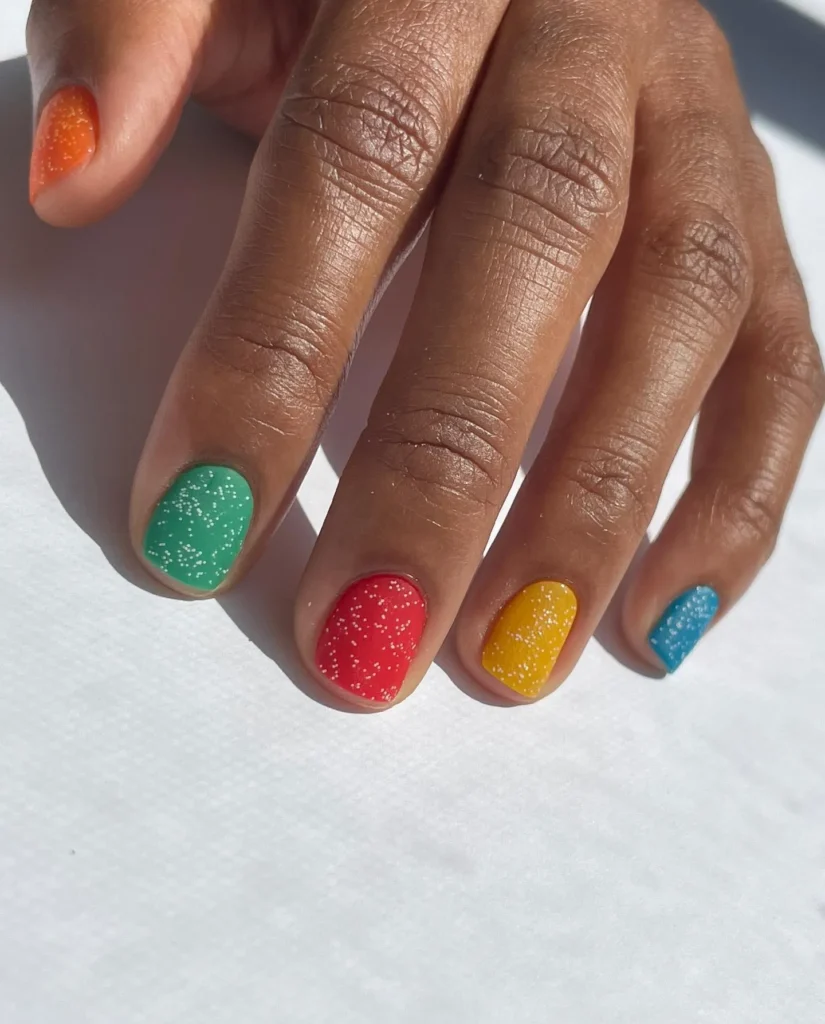
41. Minimalist Pearls
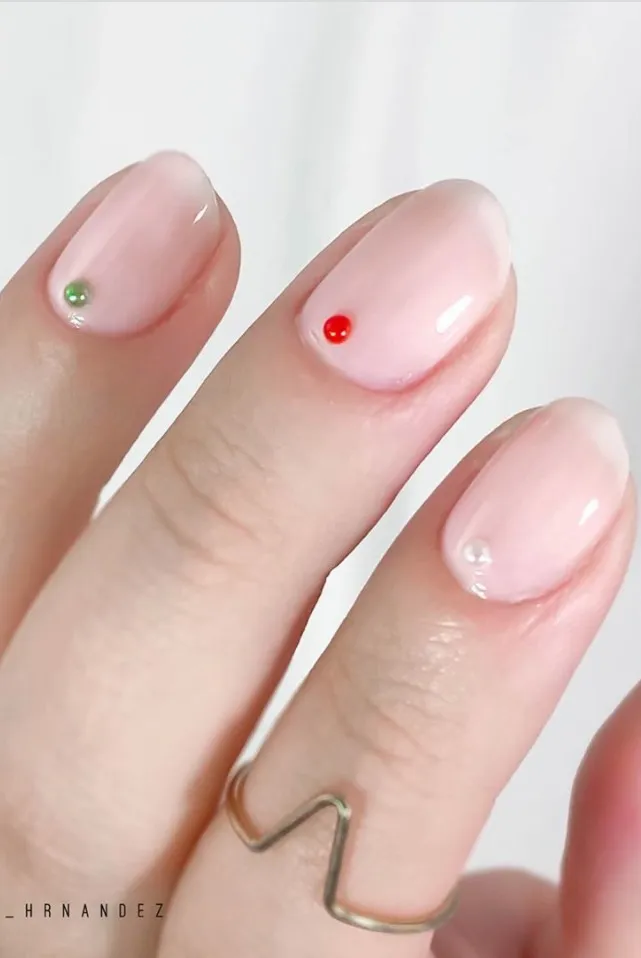
Pearl nail art offers a softer approach to Christmas glamour, particularly if you prefer delicate details over bold colors. Begin with a milky white, sheer pink, or nude base, then place tiny pearl embellishments near the cuticle or along one side of selected nails. Keep the placement simple so the pearls remain the focal point. A glossy finish complements their natural-looking shine.
42. Dipped in Gold
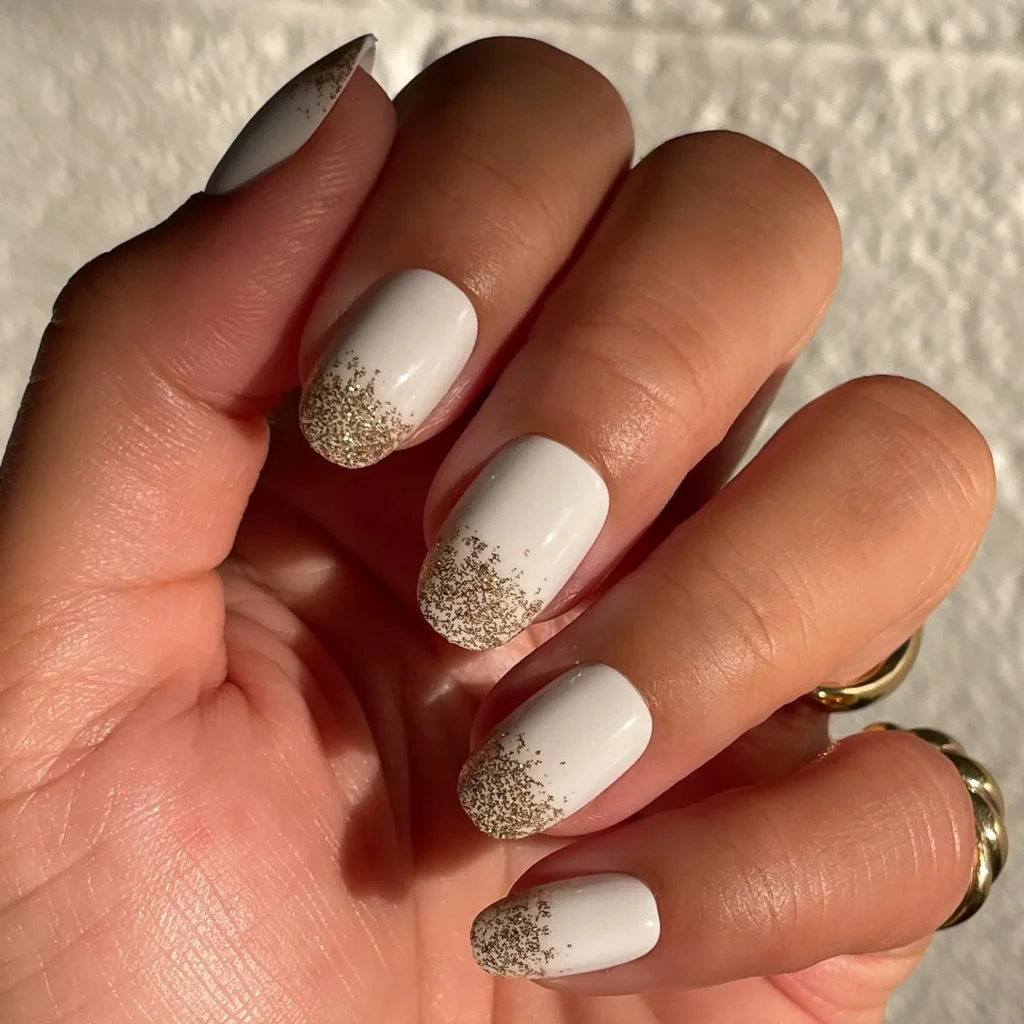
Create the appearance of gold-dipped nails by concentrating metallic polish or foil around the tips. Start with a nude, cream, burgundy, or deep green base, then apply gold across the free edges with an irregular dipping effect. The slightly uneven boundary gives the design a more interesting finish than a traditional French manicure. Gold glitter polish is an accessible option for recreating the look at home.
Related Ideas


Emma Lane
Emma Lane is a talented hairstylist and beauty lover who is the Editor-in-Chief of LooksNiceOnMe.
With years of experience in hairstyling and a great sense of beauty trends, Emma adds creativity and style to every article she writes.
Her popular hair tutorials and focus on helping people express themselves make her a leader in the beauty world.
Emma’s motto is to embrace what makes you unique and let your hair tell your personal story.
Related Ideas


Emma Lane
Emma Lane is a talented hairstylist and beauty lover who is the Editor-in-Chief of LooksNiceOnMe.
With years of experience in hairstyling and a great sense of beauty trends, Emma adds creativity and style to every article she writes.
Her popular hair tutorials and focus on helping people express themselves make her a leader in the beauty world.
Emma’s motto is to embrace what makes you unique and let your hair tell your personal story.